Archive for the ‘Motorbiking’ Category

Re-route of the Wiring Loom and Number Plate Bracket

Sunday, May 5th, 2013

I have always known that the wiring loom goes the wrong way round the steering head and it strains the loom when on full lock. I hadn’t worried too much as you don’t often go full lock in normal riding. However it was on the list so….

I took the headlight apart and disconnected everything. I pulled the loom carefully back through the headlight and back through the head stock. I then threaded it correctly up from below and back into the headlight. I disconnected everything with great confidence that its all colour coded and a ‘how difficult can it be’ attitude. Well, when you are then faced with a great tangle of wires it can seem pretty difficult. Haynes manual to the rescue along with camping chair and mug of tea. Once you get going you realise that half the wires have different connectors on and can only reconnect one way. Half an hour and I had it reconnected and headlight back in.

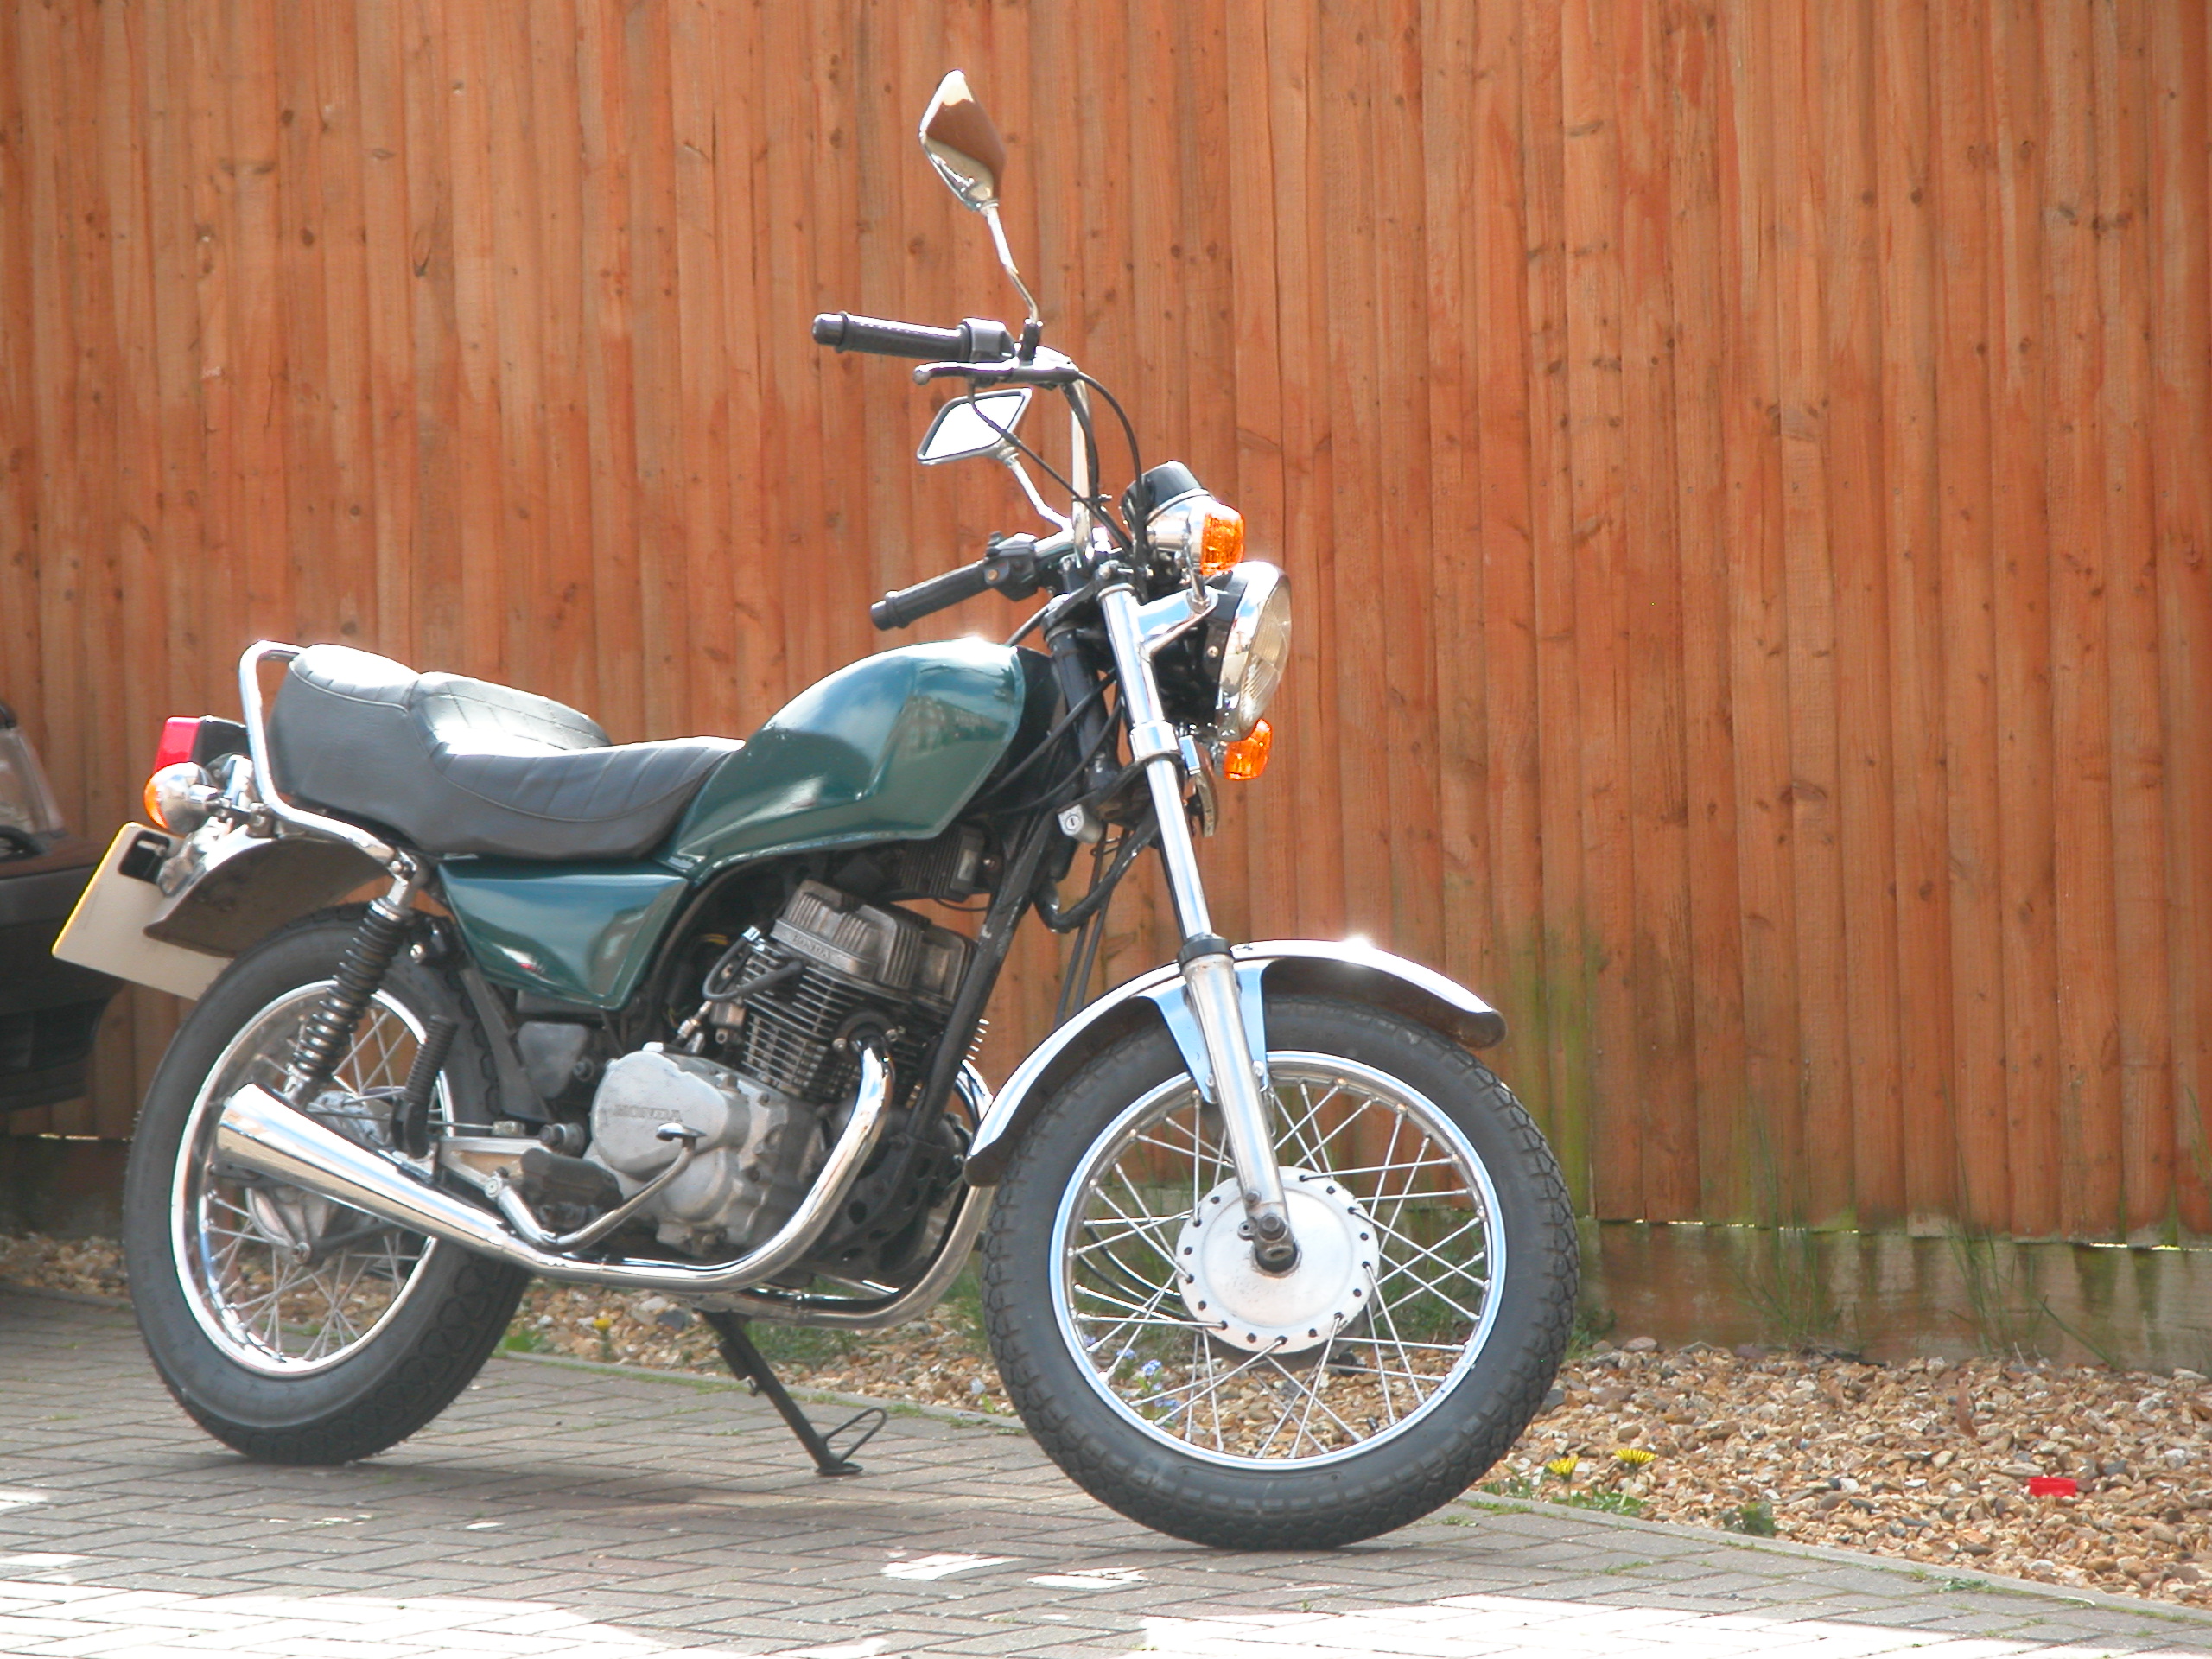
I quite often visit the CMSNL website which is a big European parts store. I often go through the available parts list and things are marked as unavailable which I assume means they are now obsolete and that’s it forever. Alongside these parts that are not available you can mark the item to be notified if it comes back into stock. Ages ago I had marked the number plate bracket in this way. I never ever thought anything would come of it and kept watching eBay just in case. I had bolted the number plate directly onto the rear light assembly last year but this annoyed me as I knew it wasn’t right. Well, with CMSNL I don’t know whether its a case of, if they get enough interest they request a production run or what but the number plate bracket came back into stock and I splashed out my 20 quid and got one.

I know its only a really minor detail and doesn’t make the bike run any better but it was really satisfying for me to get the bit and have it how its supposed to be. I bought a new number plate to go with the new bracket. I even re-painted the spokes

I am now ready for the MOT.

DSCN0129


The Exhaust and Other Bits

Sunday, May 5th, 2013

Everything I have ever owned has an exhaust problem. I guess it must be me.

My lovely Motad 2 into 1 ended up with a problem at the end of last year and broke the rear mounting bracket. This was a huge disappointment as it wasn’t cheap and they are not made anymore.

I had a long think and did a bit of research and decided to go for the genuine Honda twin exhaust. It really isn’t that much more expensive than a copy and I thought the original thing must fit better. So I placed my order. A few days later a large funny shaped box arrived.

Once I got the engine rebuilt and back in the bike I offered up the new Honda exhaust and it was a perfect fit and just slid into place. I have to say there is a definite quality about Honda stuff.

Having got it on the bike I was now in a position to do a test fire up. I reset the valve clearance and timing chain tension. Popped the tank on, connected the fuel line. Added some petrol and checked I had oil in the engine – I’ve made that mistake before!

Battery reconnected and keys in. Cranked it over and nothing – not even a glimmer; no pop; no bang; nothing.

After a cup of tea and a bit of thought I went back to basics. Do we have a spark? No! Well that’s a clue then. Neither plug has a spark so it must be the ignition circuit. I took the tank off and checked the coil connections. The earth wire that connects to the coil bolt had broken. That’s obviously the problem so found a new connector. Cleaned the wire up and re-crimped a new connector on. Super confident I had solved the problem I put the tank AND seat back on ready to test fire and……..nothing. Checked the plug again and no sparks.

Another cup of tea and out came the Haynes manual (did I say how good these are). I sat with my camping chair, Haynes manual, multimeter and mug of tea. I thought the first thing to check was continuity between the sensor coils and the ignition coil. So I disconnected the bike battery and set my multimeter to resistance and checked from sensor coils (well actually the terminal block just above the crankcase) to the CDi unit. That was fine. I then checked from CDi to ignition coils. Didly! Infinite resistance. I pulled the terminal apart just under the ignition coils and it was well corroded. I gave it a really thorough clean with needle files and emery paper and tried again. Fleetingly I got something. I gave it even more of a thorough clean and applied some of that grease they use on car batteries that’s supposed to help with corrosion and stuff. Finally I got a reading. I put it back together with low confidence so balanced the tank on the bike and connected the fuel line. Reconnected the battery and just tested for a spark initially. Wow! We have a spark. A bit more enthusiastically I refitted the plugs and put the bolt back in the tank and pressed start. It instantly kicked into life and purred away. The engine sounded beautiful and no smoke.

Feeling very pleased with myself I switched off and packed everything away in the garage.


The Paint Job

Sunday, May 5th, 2013

Basically my bike is the wrong colour. I had replaced the tank and side panels and what should have been green, according to log book, was now blue and grey. I want to get a proper paint job done professionally but when I do that I also want to strip everything and get the frame powder coated. At the moment I just don’t have time and I want to get back riding it so decided to slap some paint on myself ahead of MOT.

Having stood in Halfords for an hour studying colours I decided on a metallic British Racing Green and some grey undercoat. I needed a petrol resistant lacquer and opted for some from eBay. Its advertised as being machine polish-able in 24 hours and highly scratch and petrol resistant. It also has a skull and cross bones and a spec sheet which has five pages of close typed A4 of mainly don’t’s and not many do’s. How bad can it be!?

I sat down in the sun and started rubbing down. All I can say is my hat goes off to people who do this for a living. To get anything like a good finish is just plain hard work. I didn’t do it as well as I could/should have done as my arms were dropping off. I was impatient to get the paint on so out came the spray cans. Its not bad but could have been better with more time spent. For my own self satisfaction and to prove to myself I can do it if I try I might rub it down and have another go latter in the year. One thing I have learnt and this is probably one of those tips that every0ne else already knows, but when you spray the grey primer it shows up marks very easily. What I should have done was have another rub down at that point to get it really smooth but I didn’t.

The spray went on really easily and I followed the various Internet guides I had downloaded and did lots of thin coats.

Then it came time for the lacquer. A fried advised me to get a proper mask as this stuff “can kill”. The last word made me pay attention and I purchased a chemical and spray paint protection mask from a vehicle paint suppliers. It was a relatively cheap item really and probably not sensible to take the risk.  I also purchased some protective gloves to go with it.

I wasn’t sure whether to rub the tank down before lacquering or not. A bit of Internet searching seemed to suggest a  rub down so I used some very fine wet and dry and gave it a rub. I waited for a very calm day. I cleaned off the dust with some paint wipes from Halfords and then set to with the lacquer. It sprayed on really easily. The bit that amazed me was how it really brought the colour out. I left it to dry in the open for a while and then moved into the garage and left it to really harden off.

I haven’t done any real cutting back or polishing yet but the finish even now seems pretty good. This is the bike fully assembled

DSCN0129

Next the exhaust.