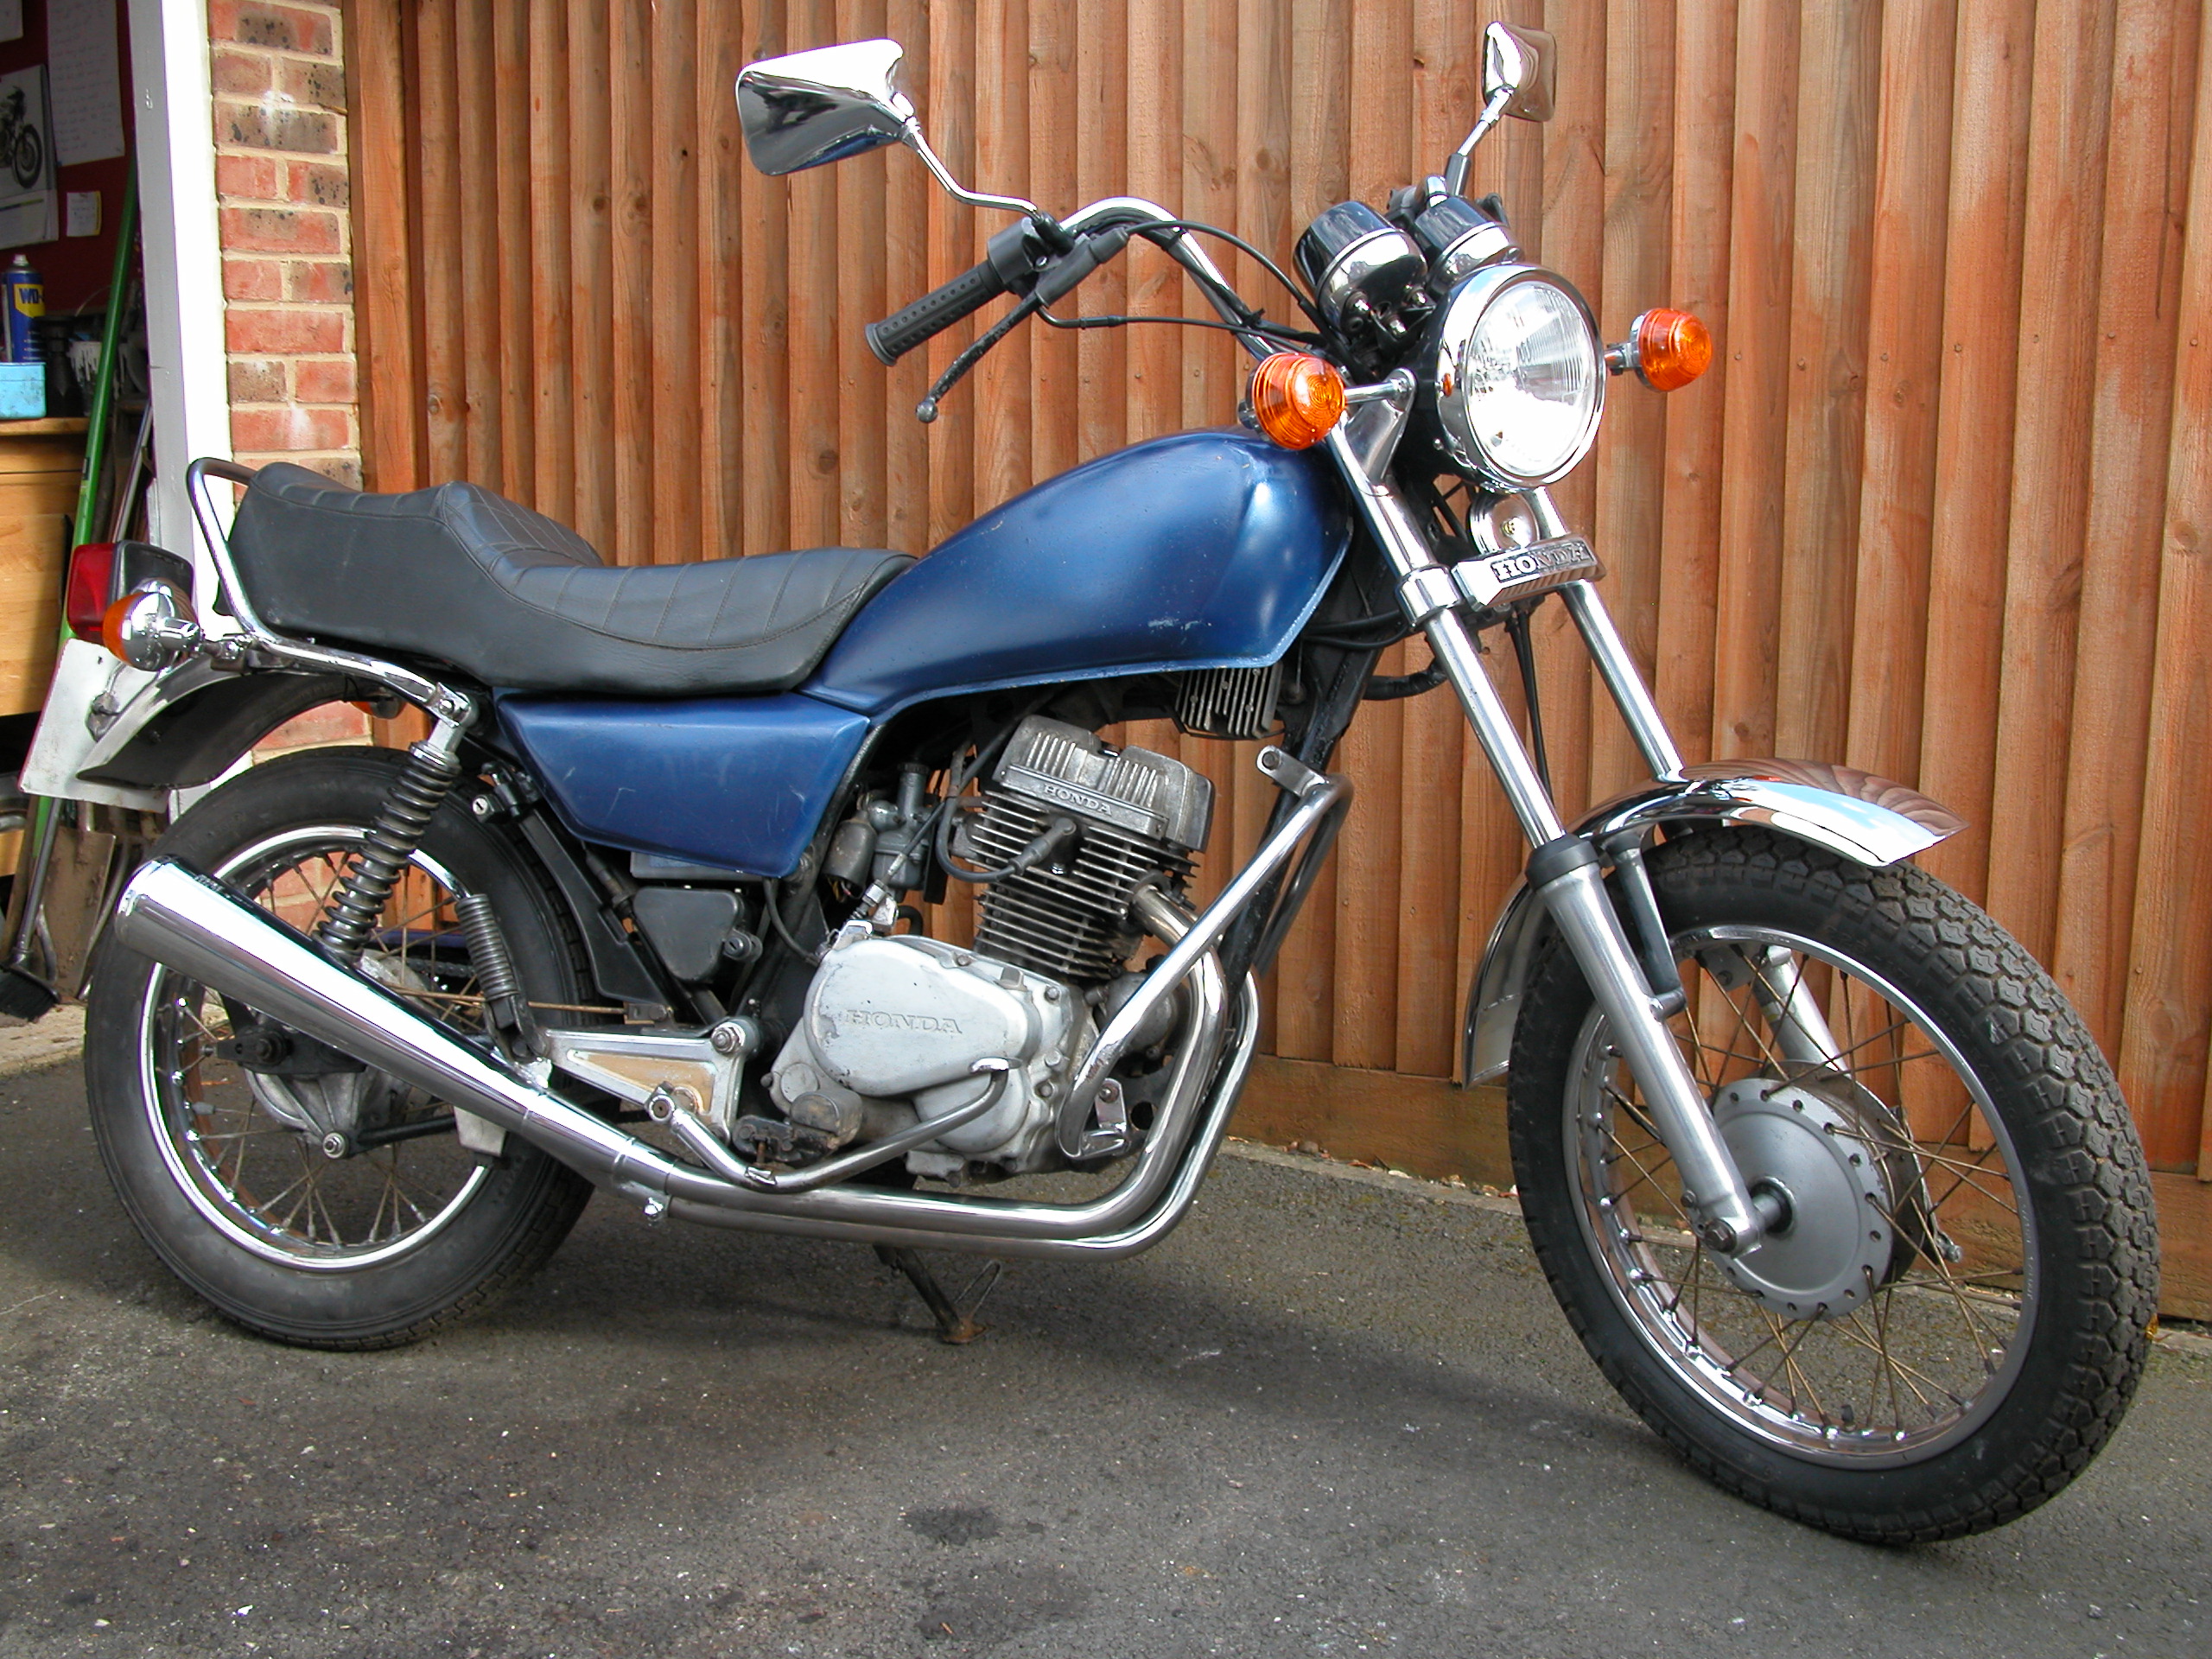
And so to the chain. I knew it was knackered but waited until I could afford some top notch sprockets and a heavy duty ‘O’ ring chain.
I jacked the bike up to get the back wheel off the ground and tried to undo the rear wheel nut. And then I tried a little harder. Then I was belting seven shades of stuff out of it. Four hours later I had the thing undone. It had rusted solid.
I took the old chain off and boy was it warn out. I could almost join it up by bending it sideways. I removed the front sprocket cover (need to take the gear change lever off to do that) and then removed the sprocket. Came off easily. Having finally got the rear wheel out I remove the circlip and removed the sprocket from the wheel. Swapped the drive bolts to the new sprocket and added it to the wheel. The drive bolts were a little rusts so I added a spot of grease. Don’t know if that’s good to do or not but I did it anyway. I put new break linings in while I had it all apart. Put the wheel back on the bike and having cleaned up the main bolt I slid it back into place and loosely tightened everything. Added the chain to the sprockets and and fitted the spring link to hold it all together. I roughly set the chain tension and stood back to admire my handiwork.
Hmm. I wonder what that big circlip on the floor is supposed to do? I guess I am taking it all to bits again! Removed the wheel and fitted the washer and circlip this time. Checked everything six times before refitting the wheel and attaching the chain again. Again I roughly set the chain tension.
I have read many books and taken advice on setting wheel alignment. I personally find all the methods very challenging and tedious but I usually end up with some bits of string wrapped round the wheels and on my hands and knees trying to measure gaps between string and wheels. Once I think its right I check chain tension and then tighten everything up. Then I check it all again and find its moved. I usually end up doing this three of four times before I am satisfied its the best I can get it.
I then attached the chain guard. This is the first time its been on the bike. Discovered it doesn’t fit.Actually its not the chain guard its the rear suspension unit thats wrong. It fouls on the chain guard. Guess I am buying new rear suspension units at some point! Managed to gently bend the chain guard to a point that it would fit without touching anything. Its not perfect but it works for the moment.
Refitted the sprocket cover and gear lever and checked everything still works.
I rechecked all the bolts were tight.
Just for information. I have experimented slightly with changing the ratios on the sprockets. At this stage I really don’t know if I will achieve my objective but I wanted to have a fairly relaxed cruising speed with relatively low engine rpm. I am hoping for good fuel economy on my commute to work so have gone for plus one tooth at the front and one less at the back. Will it achieve what I want or will I end up with a completely intractable bike. Dunno but I will find out when I ride it for the first time.