Given that we have had a rather cold winter I negotiated with the ‘One Who Must Be Obeyed’ to bring my engine into the dinning room to do the rebuild. I protected the floor with a large piece of plywood and put my little work bench in the middle. Engine out in half an hour and a back breaking carry into the dining room. I’d like to meet the person who reckons in the Haynes manual that one person can do it easily.
My focus on the engine was to stop it being so smoky. I had done a compression test and identified that I had a ring problem so I bought a barrel and piston kit. I already had a full Athena gasket set.
The strip down was uneventful really. The only thing that didn’t come apart as planned was the front cylinder head bolt which had rusted solid and sheared off. Removing the cam shaft is a bit like one of those Christmas cracker metal games where you have to get the pieces apart without bending the metal and if you get it exactly right it just comes apart. If you get everything in the right position with the cam shaft it just comes out without fuss.
The engine internals were a bit of a mess. Loads of carbon deposits and clear evidence of my little baby having done 30000 miles. It took quite a while to get everything clean.
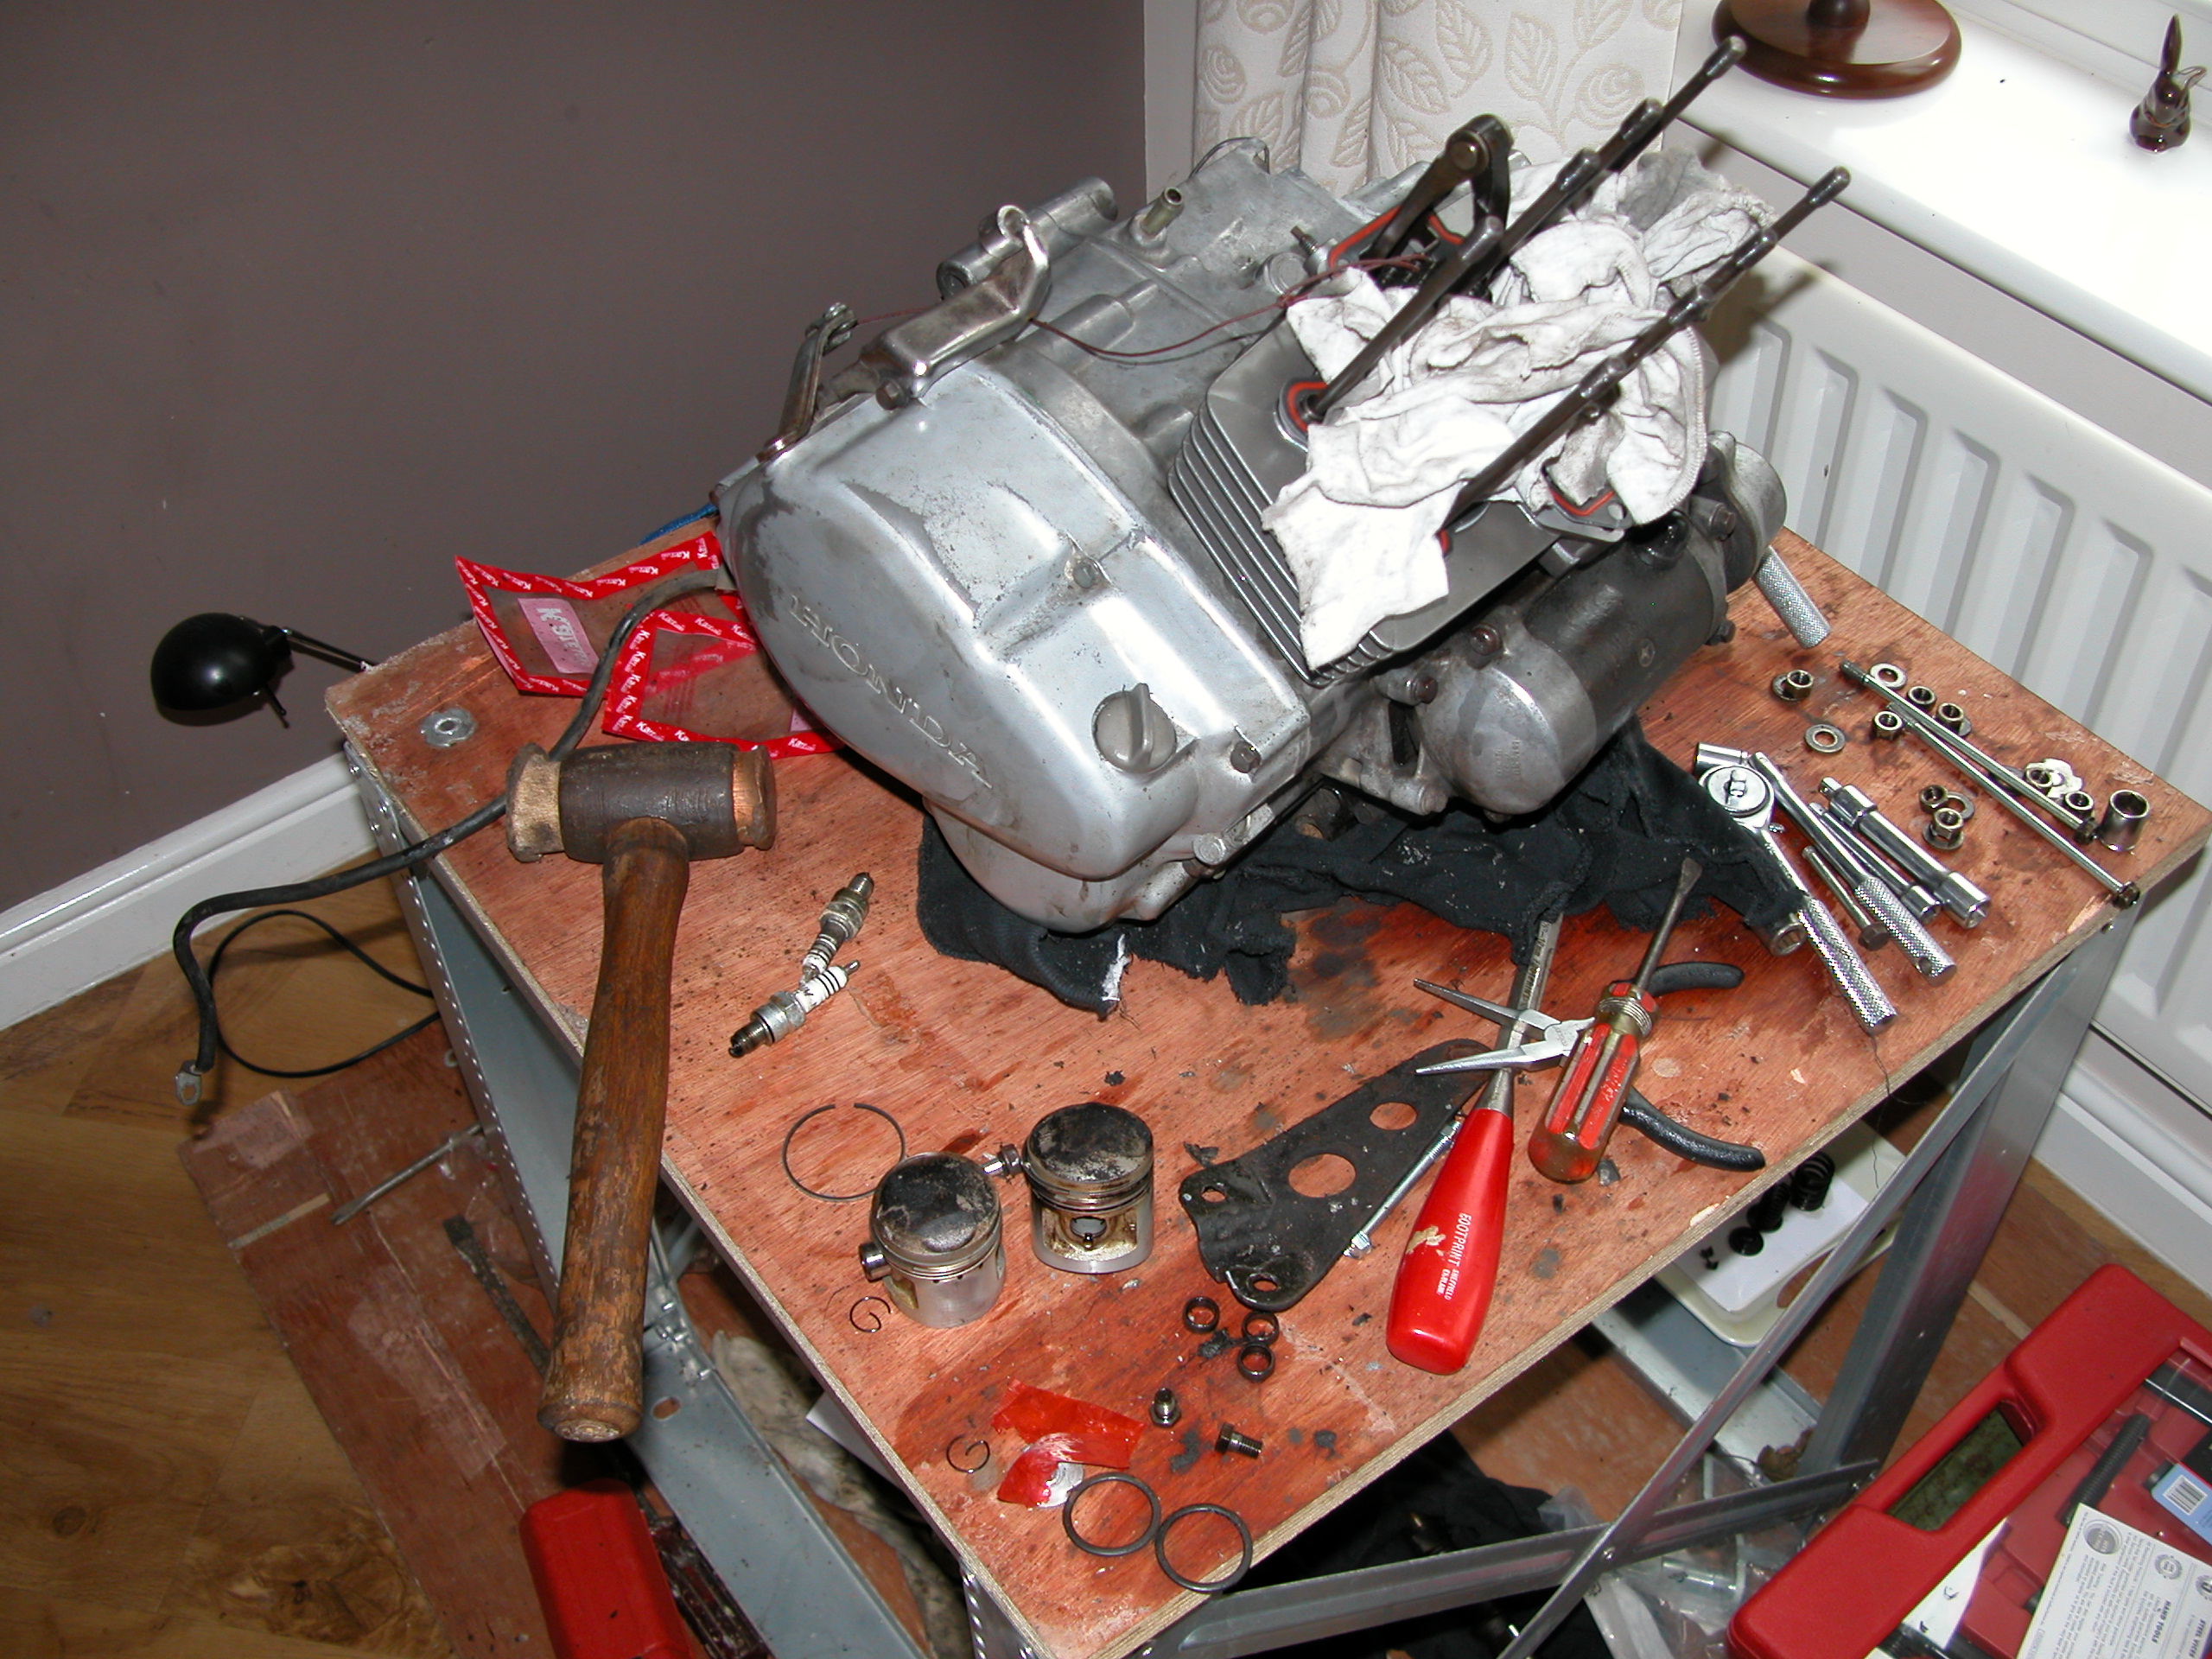
Engine Strip under way
One of the exhaust stud in the head had damaged threads so I got a replacement and added it. The old one came out surprisingly easy. The one bit I gave up on was the bolt which holds the engine top support bracket to the cylinder head. This bolt was completely corroded in place. I was really worried that if I put more pressure on it I was going to crack the head so I left it for another day.
When I came to put the pistons back in I followed a tip from a friend and put the piston and rings into the barrel first and then offered the barrel up to the crankcase and inserted the gudgeon pins. It was a bit of a fiddle but I think it was easier than trying to guide the pistons into the barrel with them already fitted to the rods.
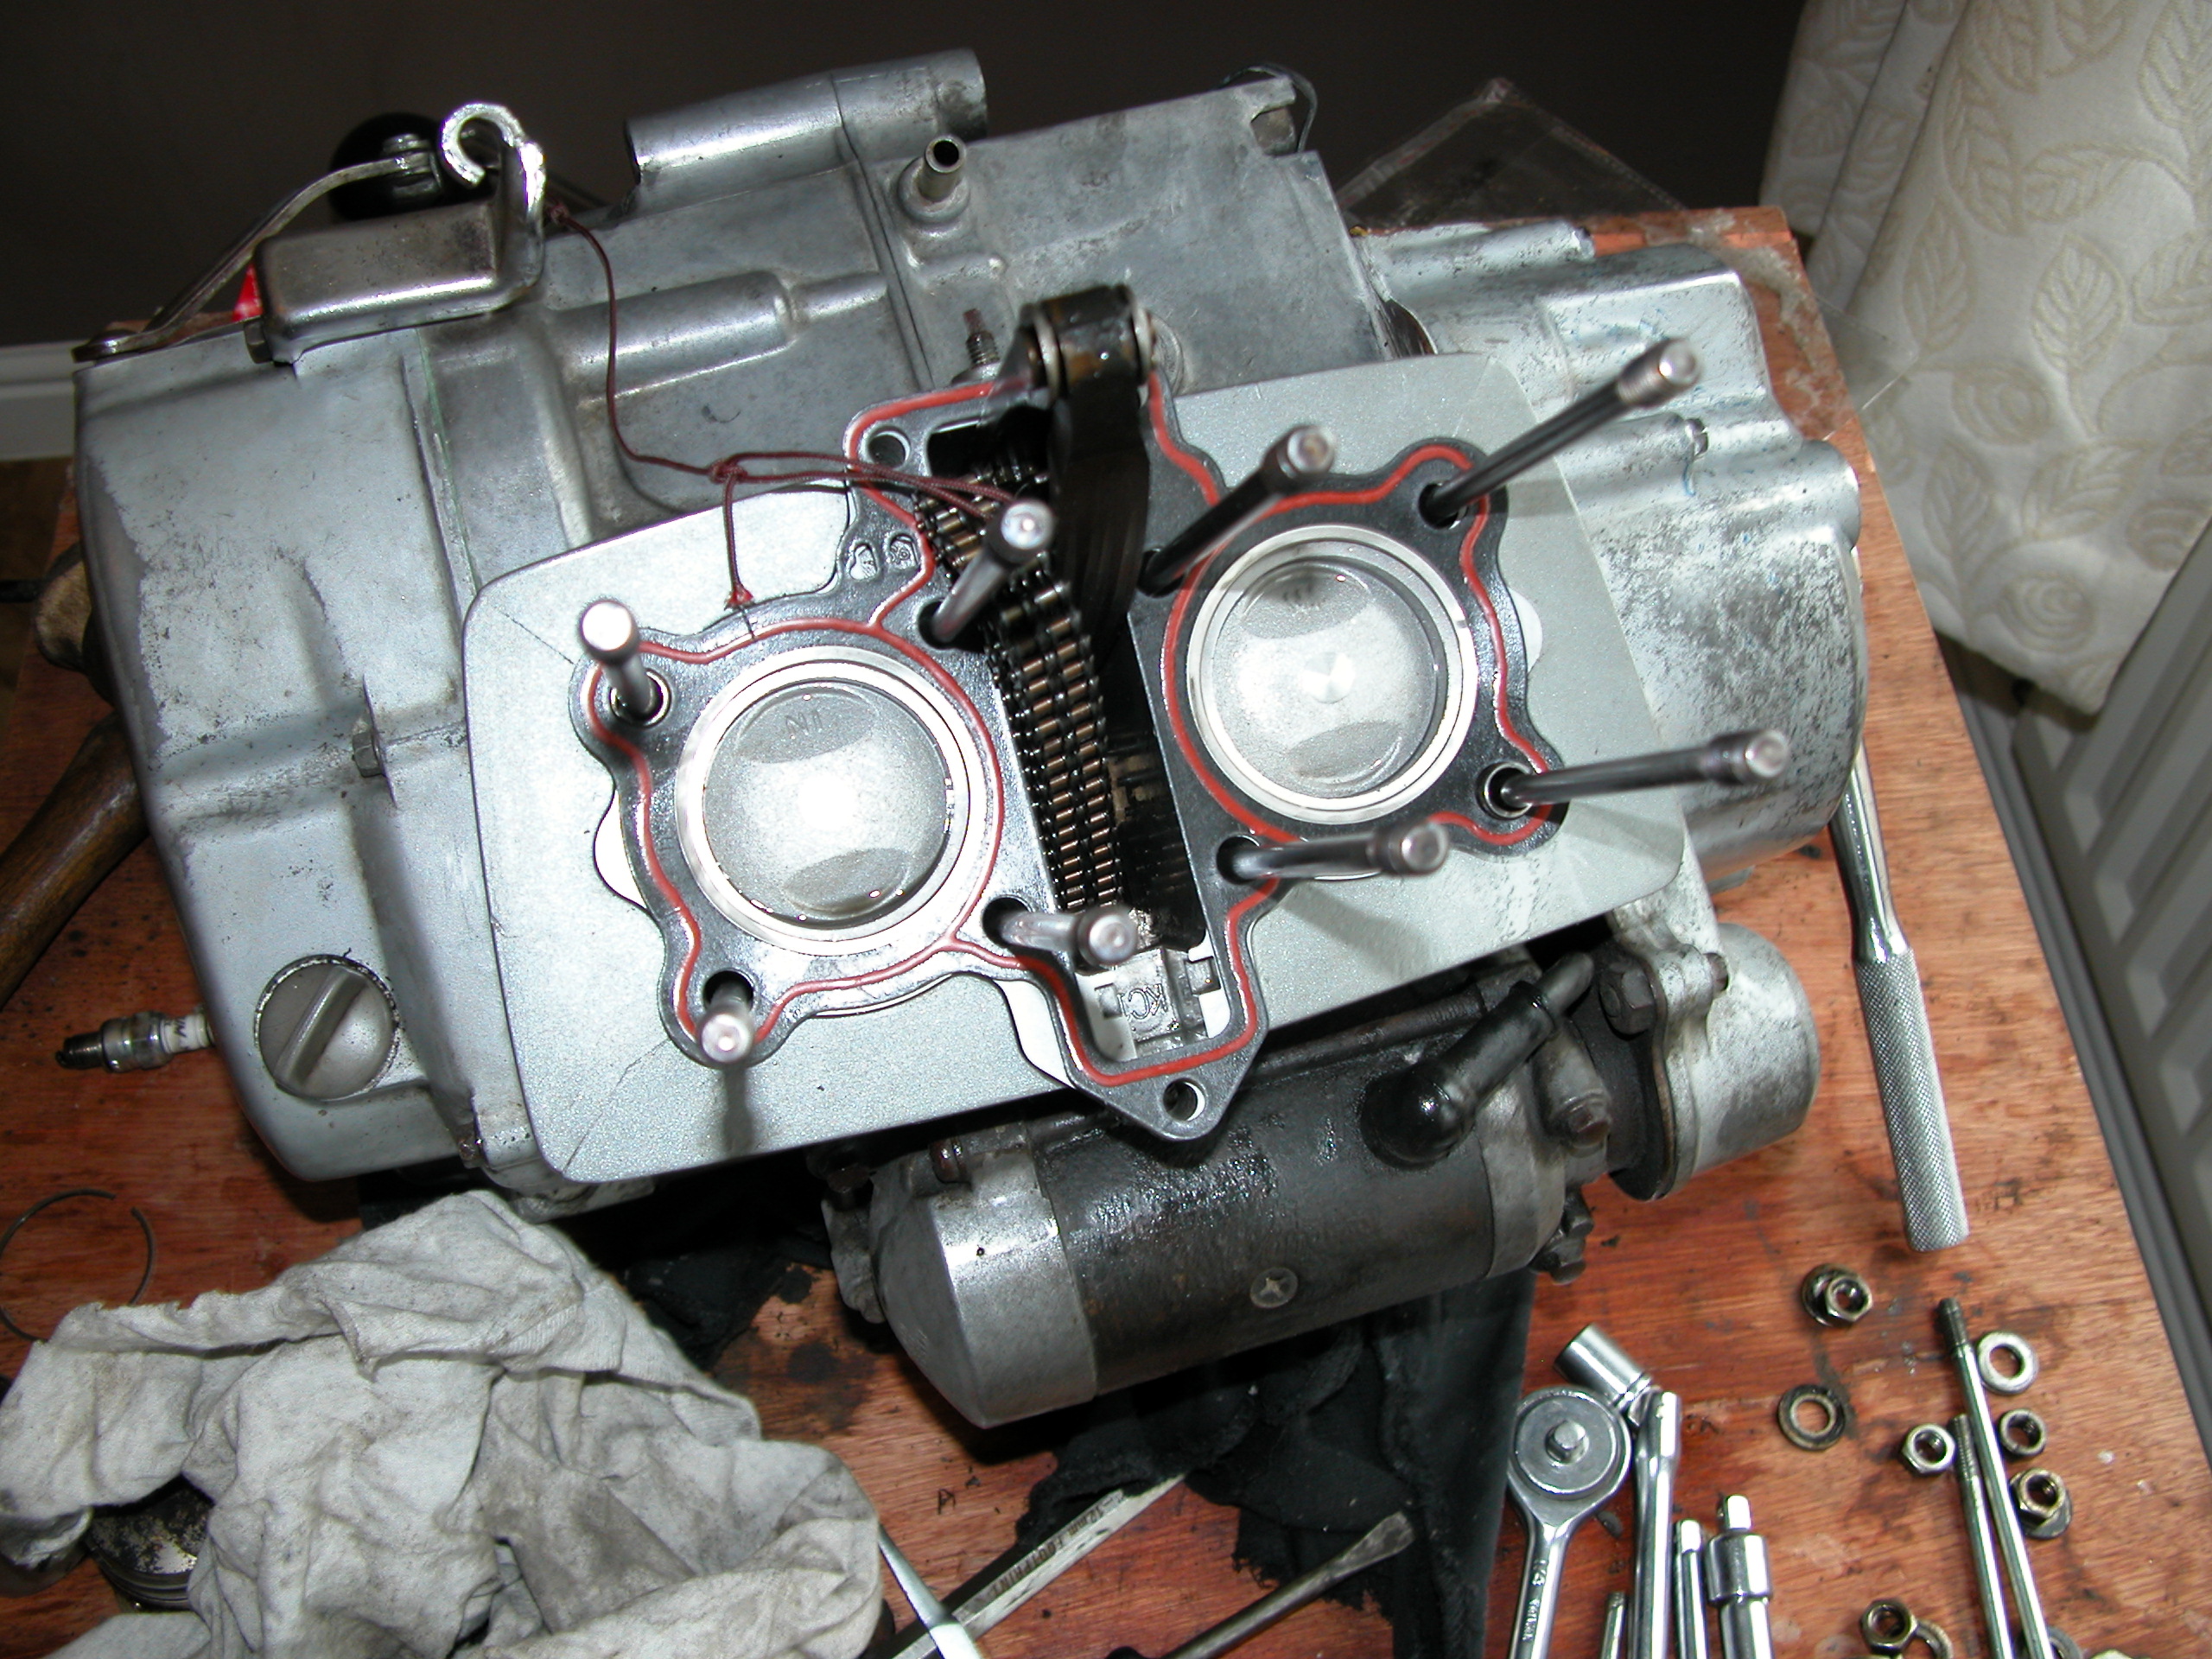
Having turned the plastic timing chain guide round and put it in the right way I then proceeded to add the timing chain sprocket and cam shaft. Once again its a bit of a challenge but if you get everything in the right place it just slides in and you wonder what all the fuss is about. Give everything a good coat of engine oil during assembly to help it with oil when it initially fires up. Setting the timing is critical at this stage. Haynes manual explains this. Take your time and check it after a cup of tea.
I torqued the head down and finished the assembly. I was planning to reset tappets and timing chain tension once back on the bike so this bit is done.
Getting the engine back in the bike I used my trolley jack with a plank of wood under the casing to support it. It helped enormously with aligning everything. There are a number of spacer washers associated with the rear engine bolts and these need to go back in the same place. I assume these align the drive sprocket with the back wheel sprocket. I just put them all back in the same place.
It was a bit of a struggle to get it all back in the frame but eventually I had it all back together and the wiring all re-connected.
As a last job I replaced the generator side cover gasket as I knew it was not sealing correctly and letting water in.
Paint job next.