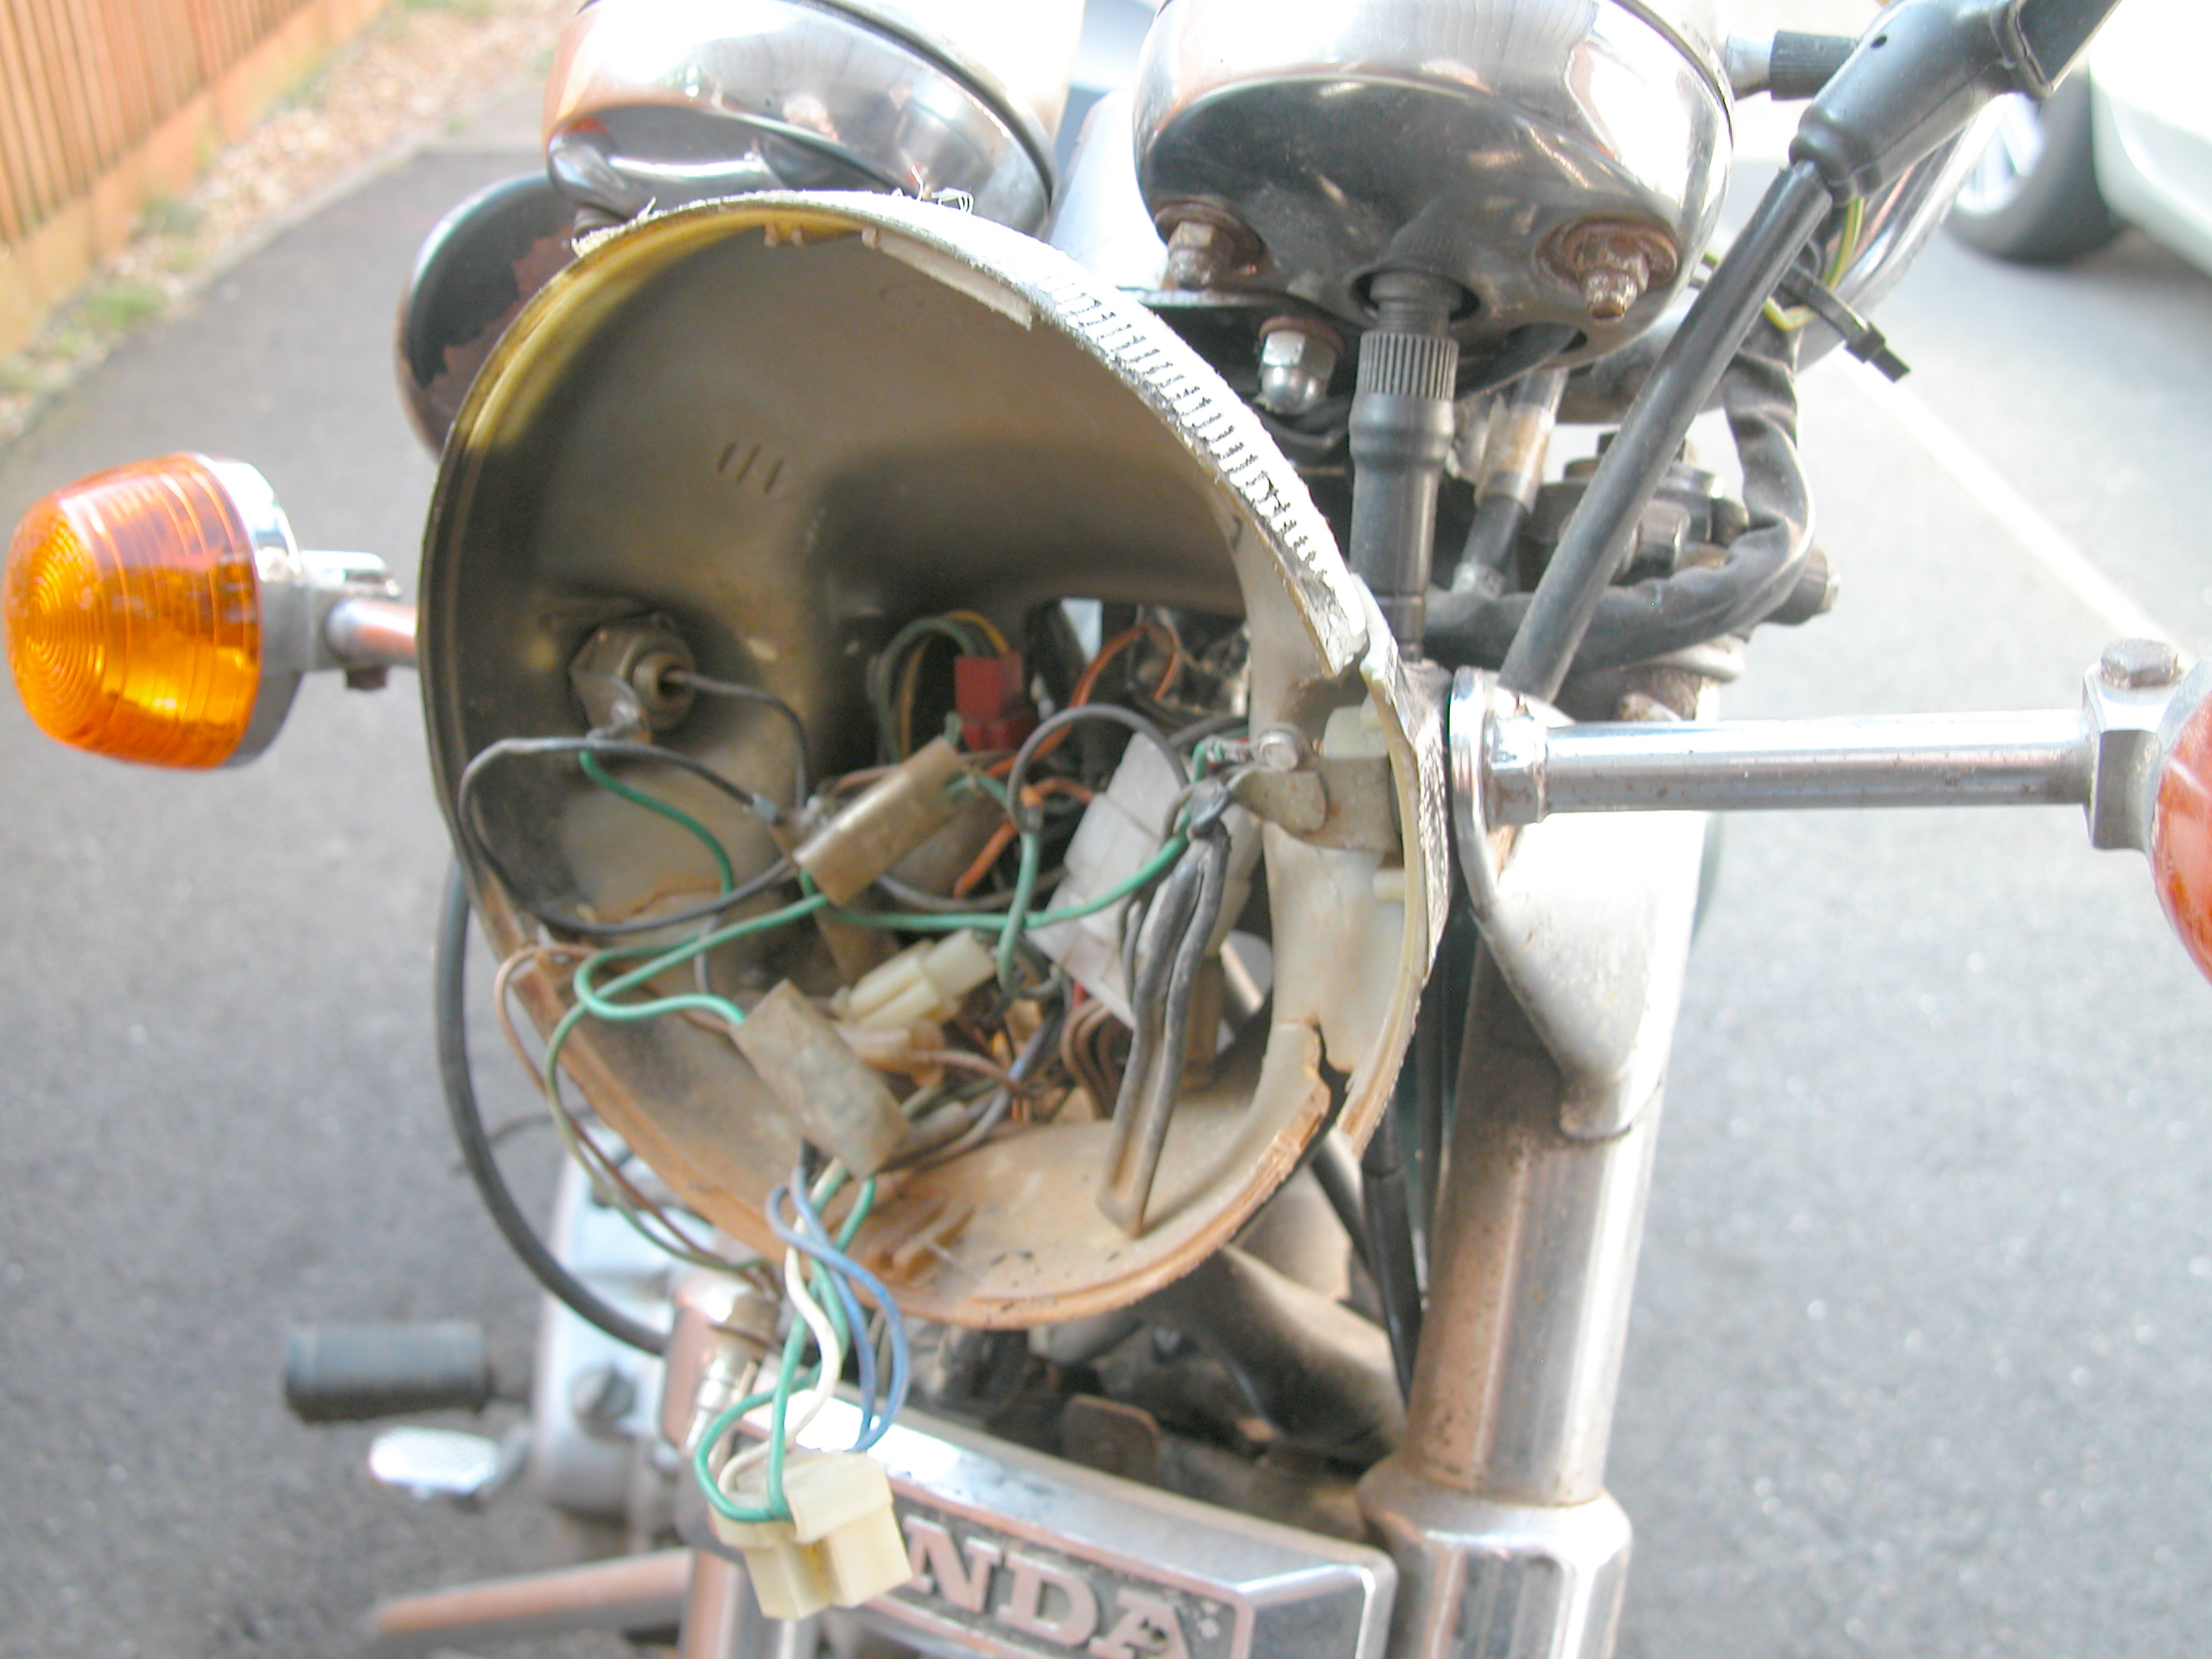
As you can the see, the headlight is in very poor shape. Purchased a new one from Wemoto. Its not a genuine Honda unit but it fits, looks good and solves the initial problem of no light. Ahead of fitting the headlight I took the additional steps of giving the surrounding area a good clean and polish. Discovered the horn is competed rusted solid and will need replacing. The Honda emblem badge under the headlight has had two holes drilled in it for some reason which doesn’t look nice. Quite a bit of rust on the inside of the headlight brackets. Plan to just clean those as best I can for now. Using good old fashioned Autosol Metal Polish for cleaning and Mer Ultimate Car Polish to add some protection to the cleaned bits. Small point about fitting the new headlight. Gently bend the headlight brackets to fit with the new light assembly. Don’t pull it all together by just tightening up the indicator stalks. The headlight is only plastic and won’t take much strain before it will crack.
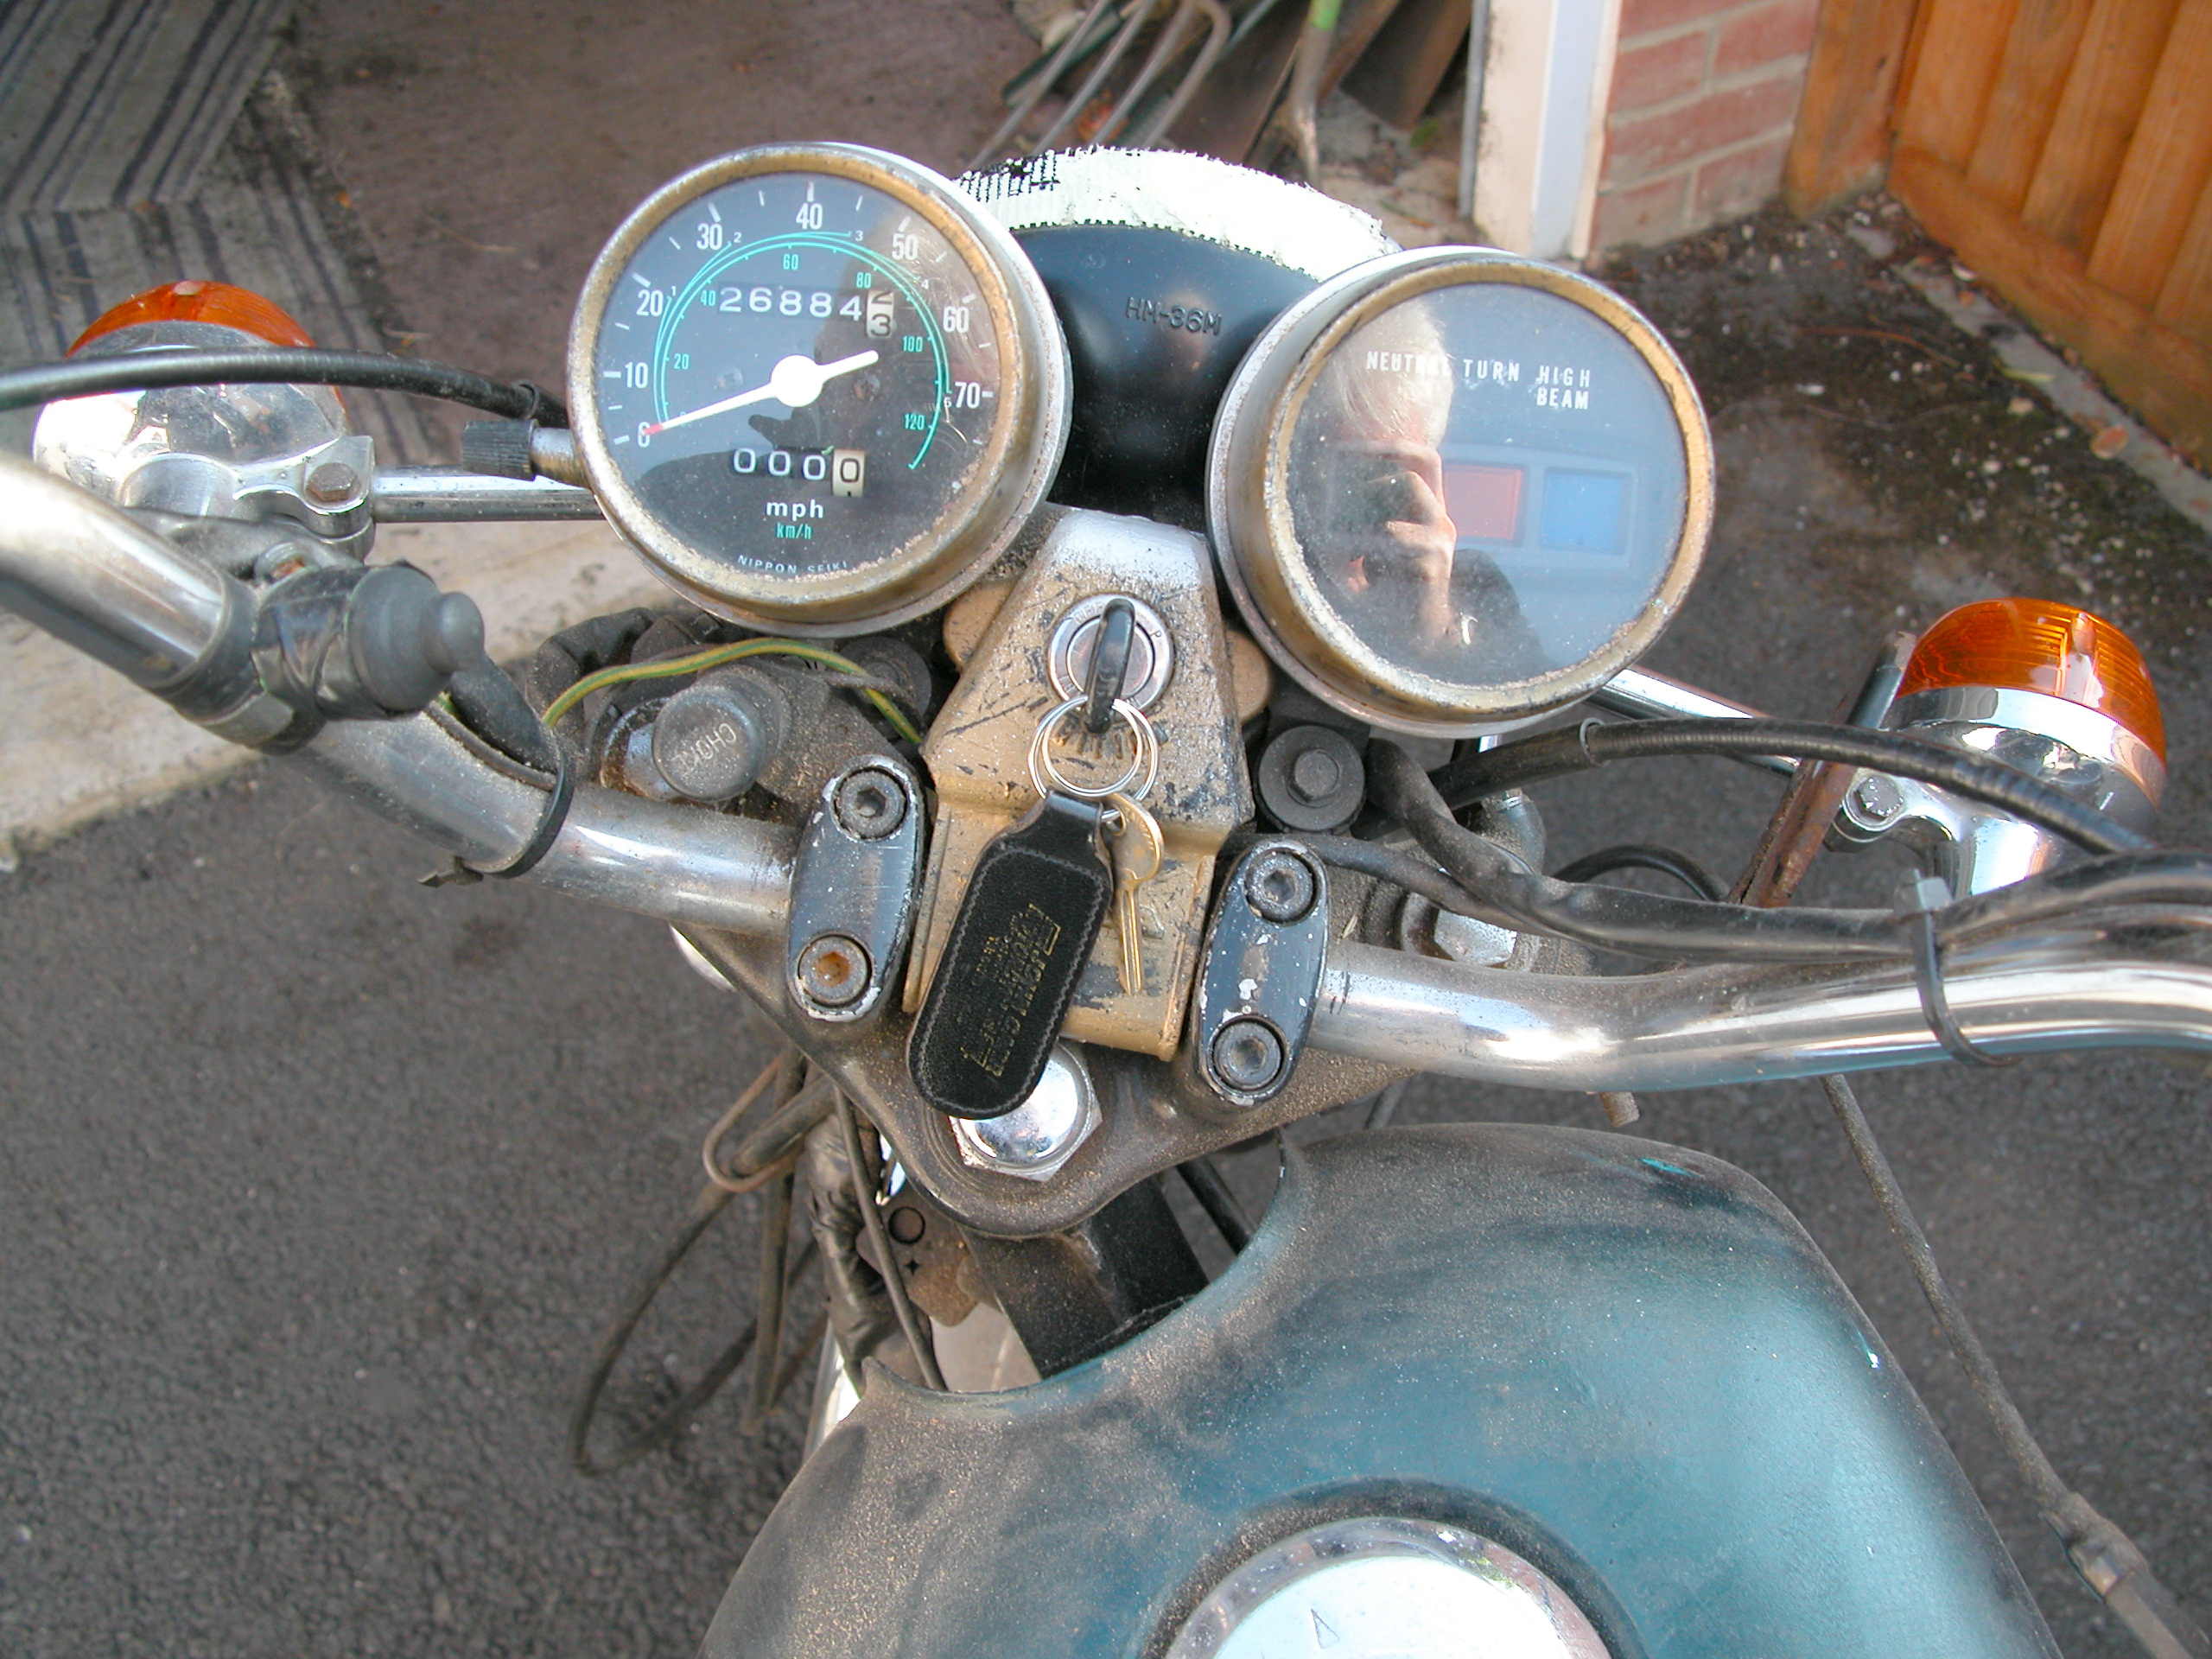
Further items which will require attention. Engine Start button is broken and the wiring for this has been bodged (See additional button on left of handle bar in picture below). Wing mirrors missing, Front Brake lever broken. Clutch lever very sloppy and loose. Dials have been sprayed gold as has the ignition key lock and cover.
Have now taken the carburettor off for cleaning as the next step.