In the last post I said I had removed the carburettor for cleaning.
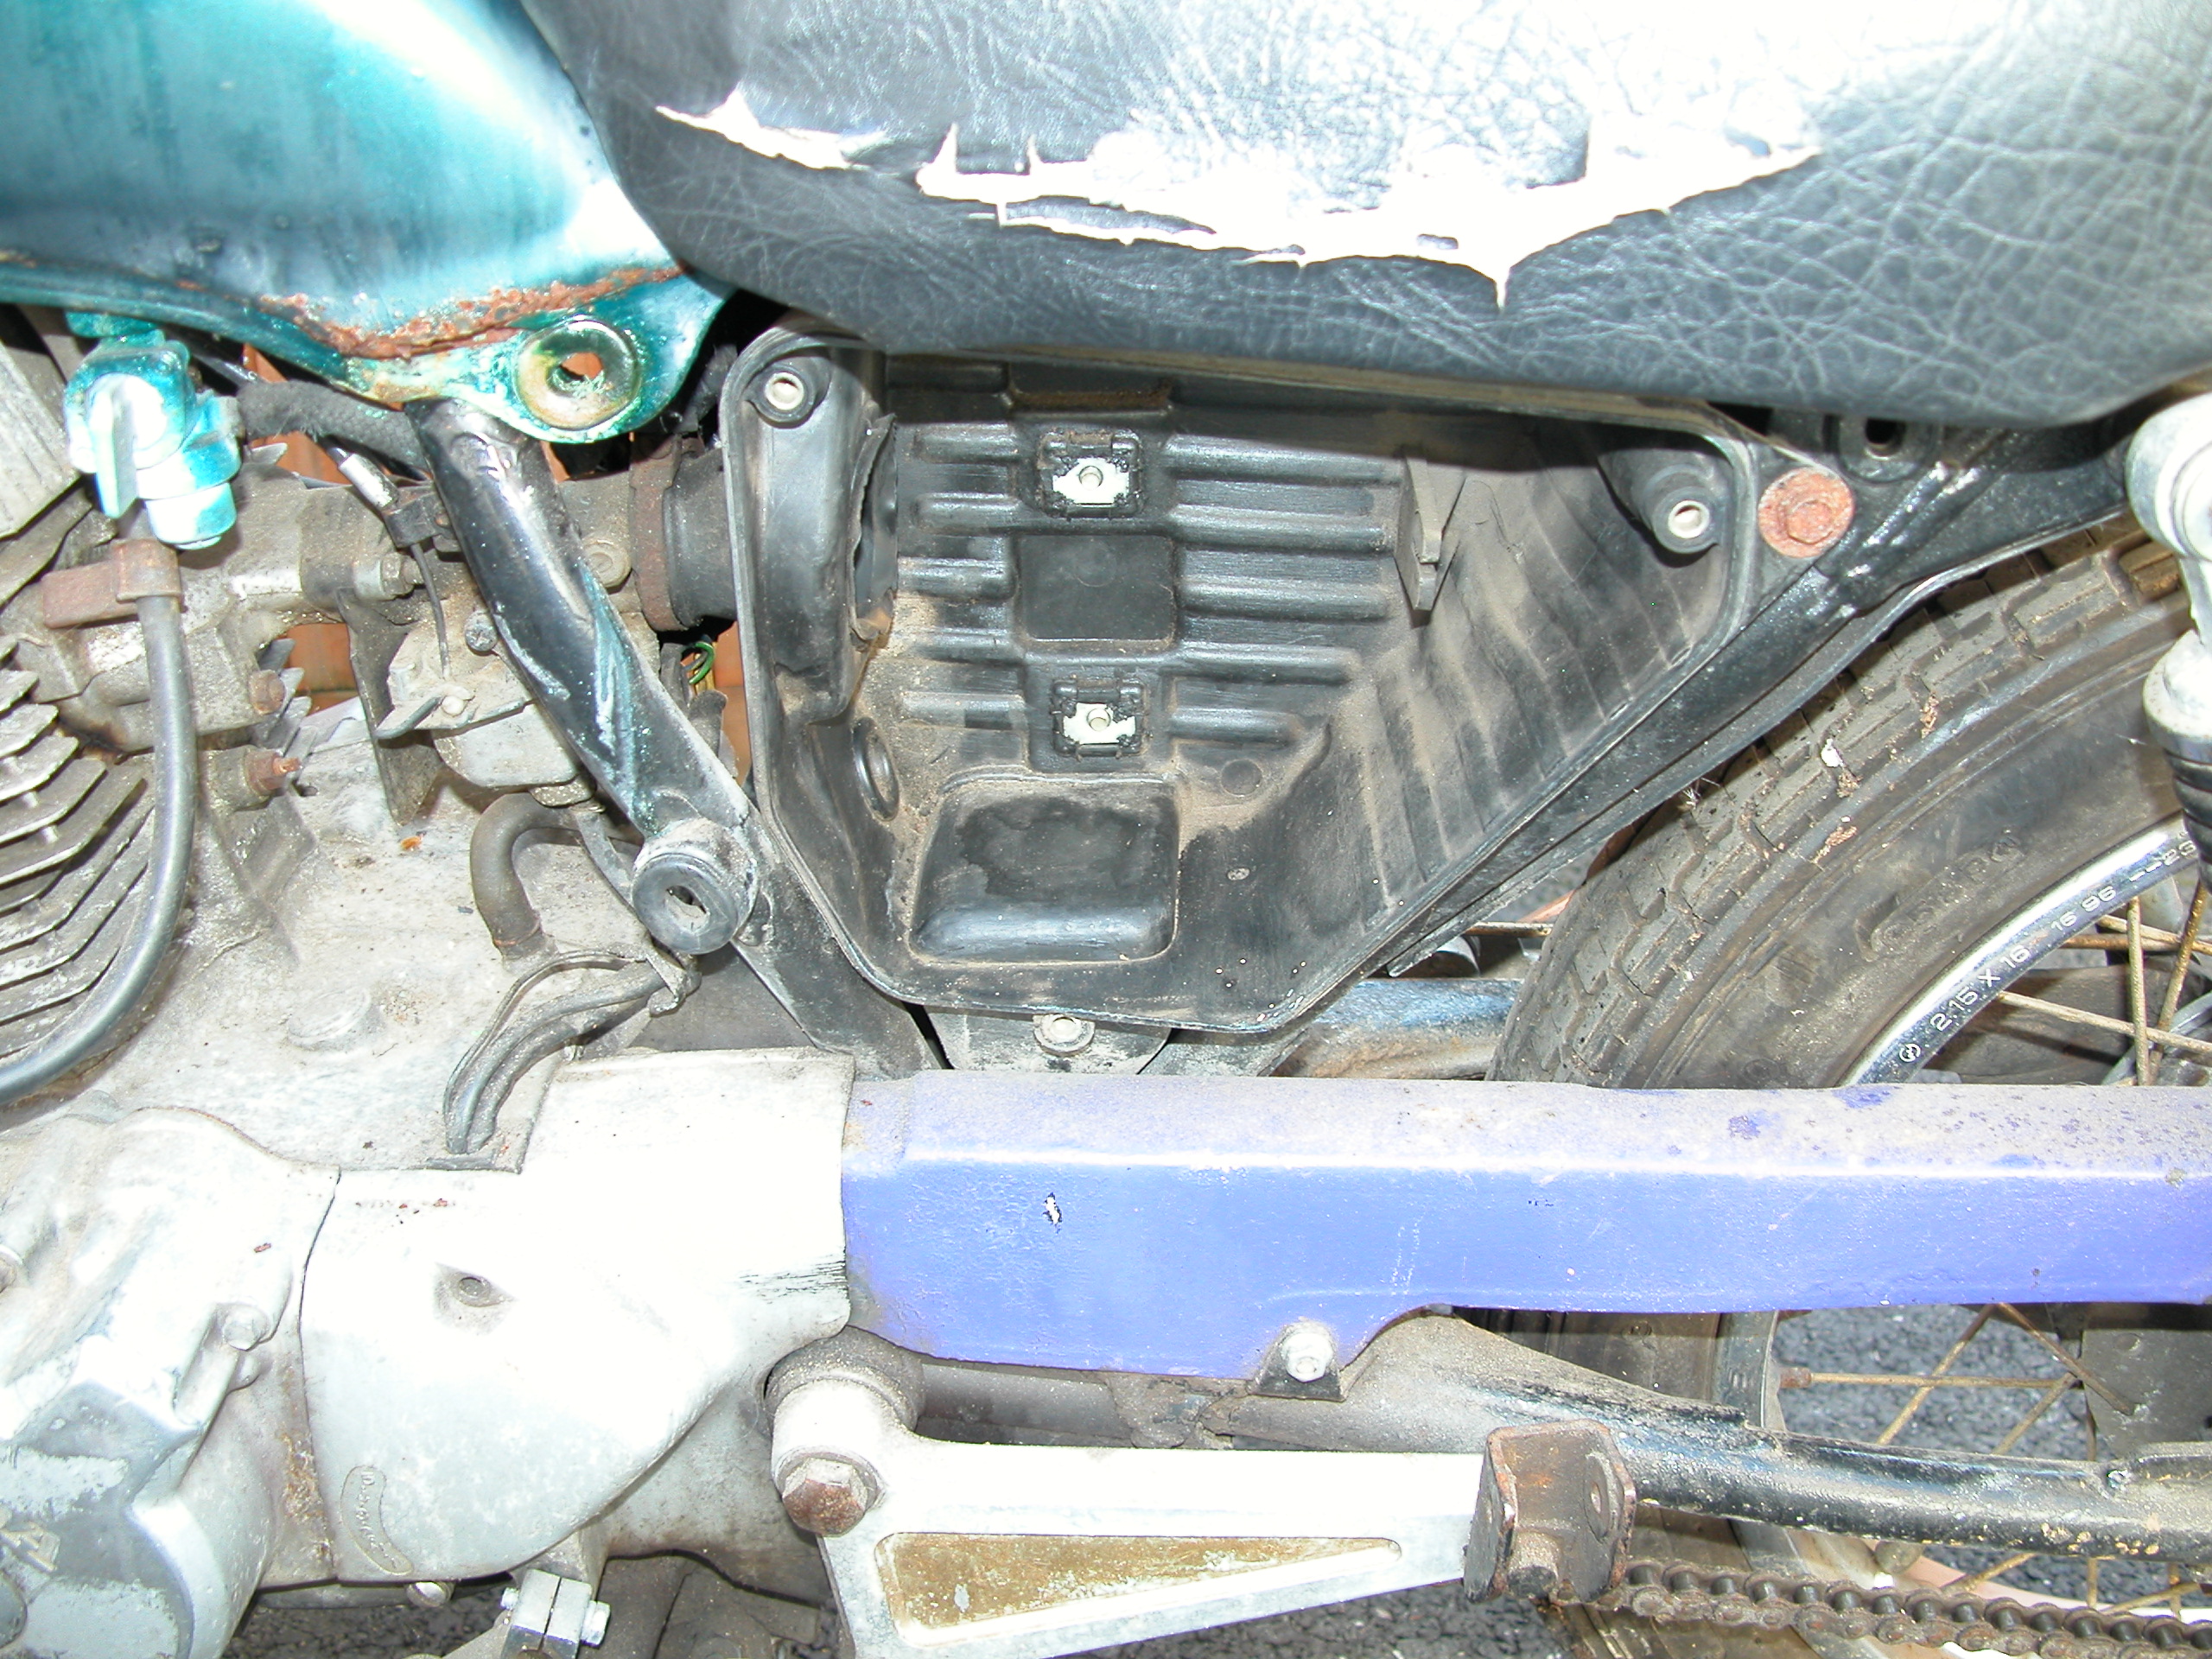
Not the best of pictures but I think you get the idea. The Carburettor is a bit dirty. Also from this picture you can see the seat is in bad shape and tank is quite rusty. I will deal with those shortly.
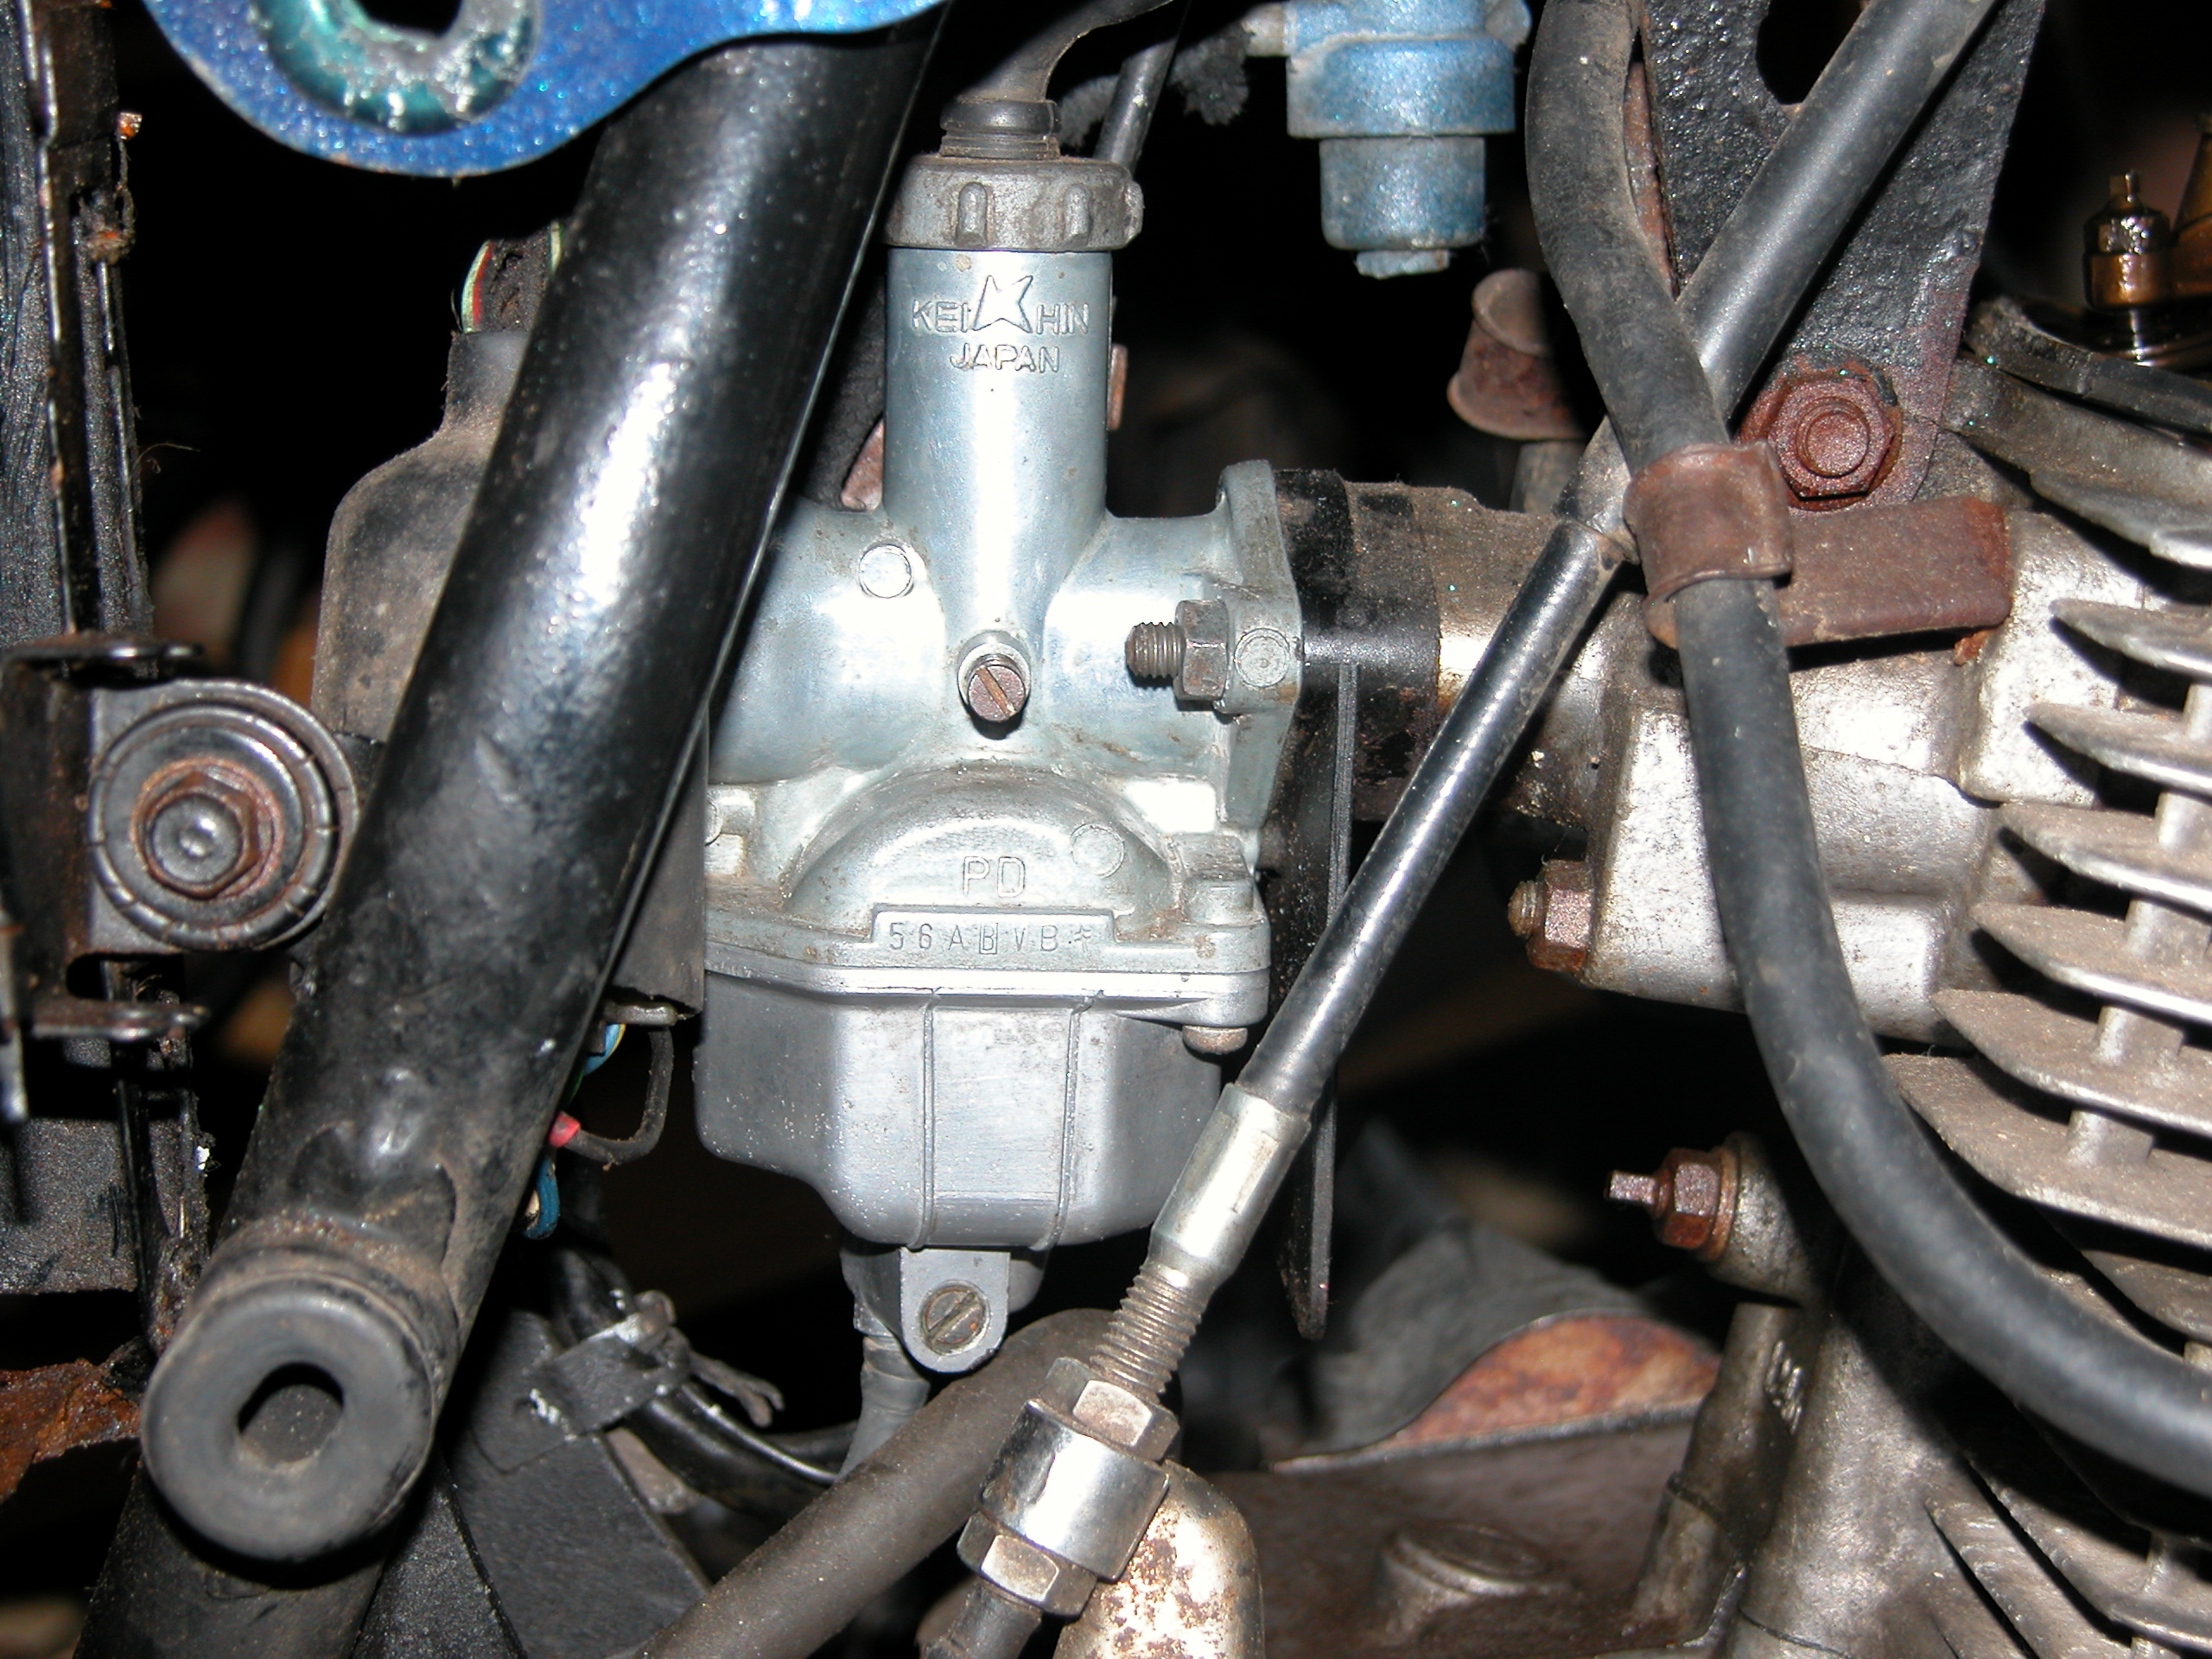
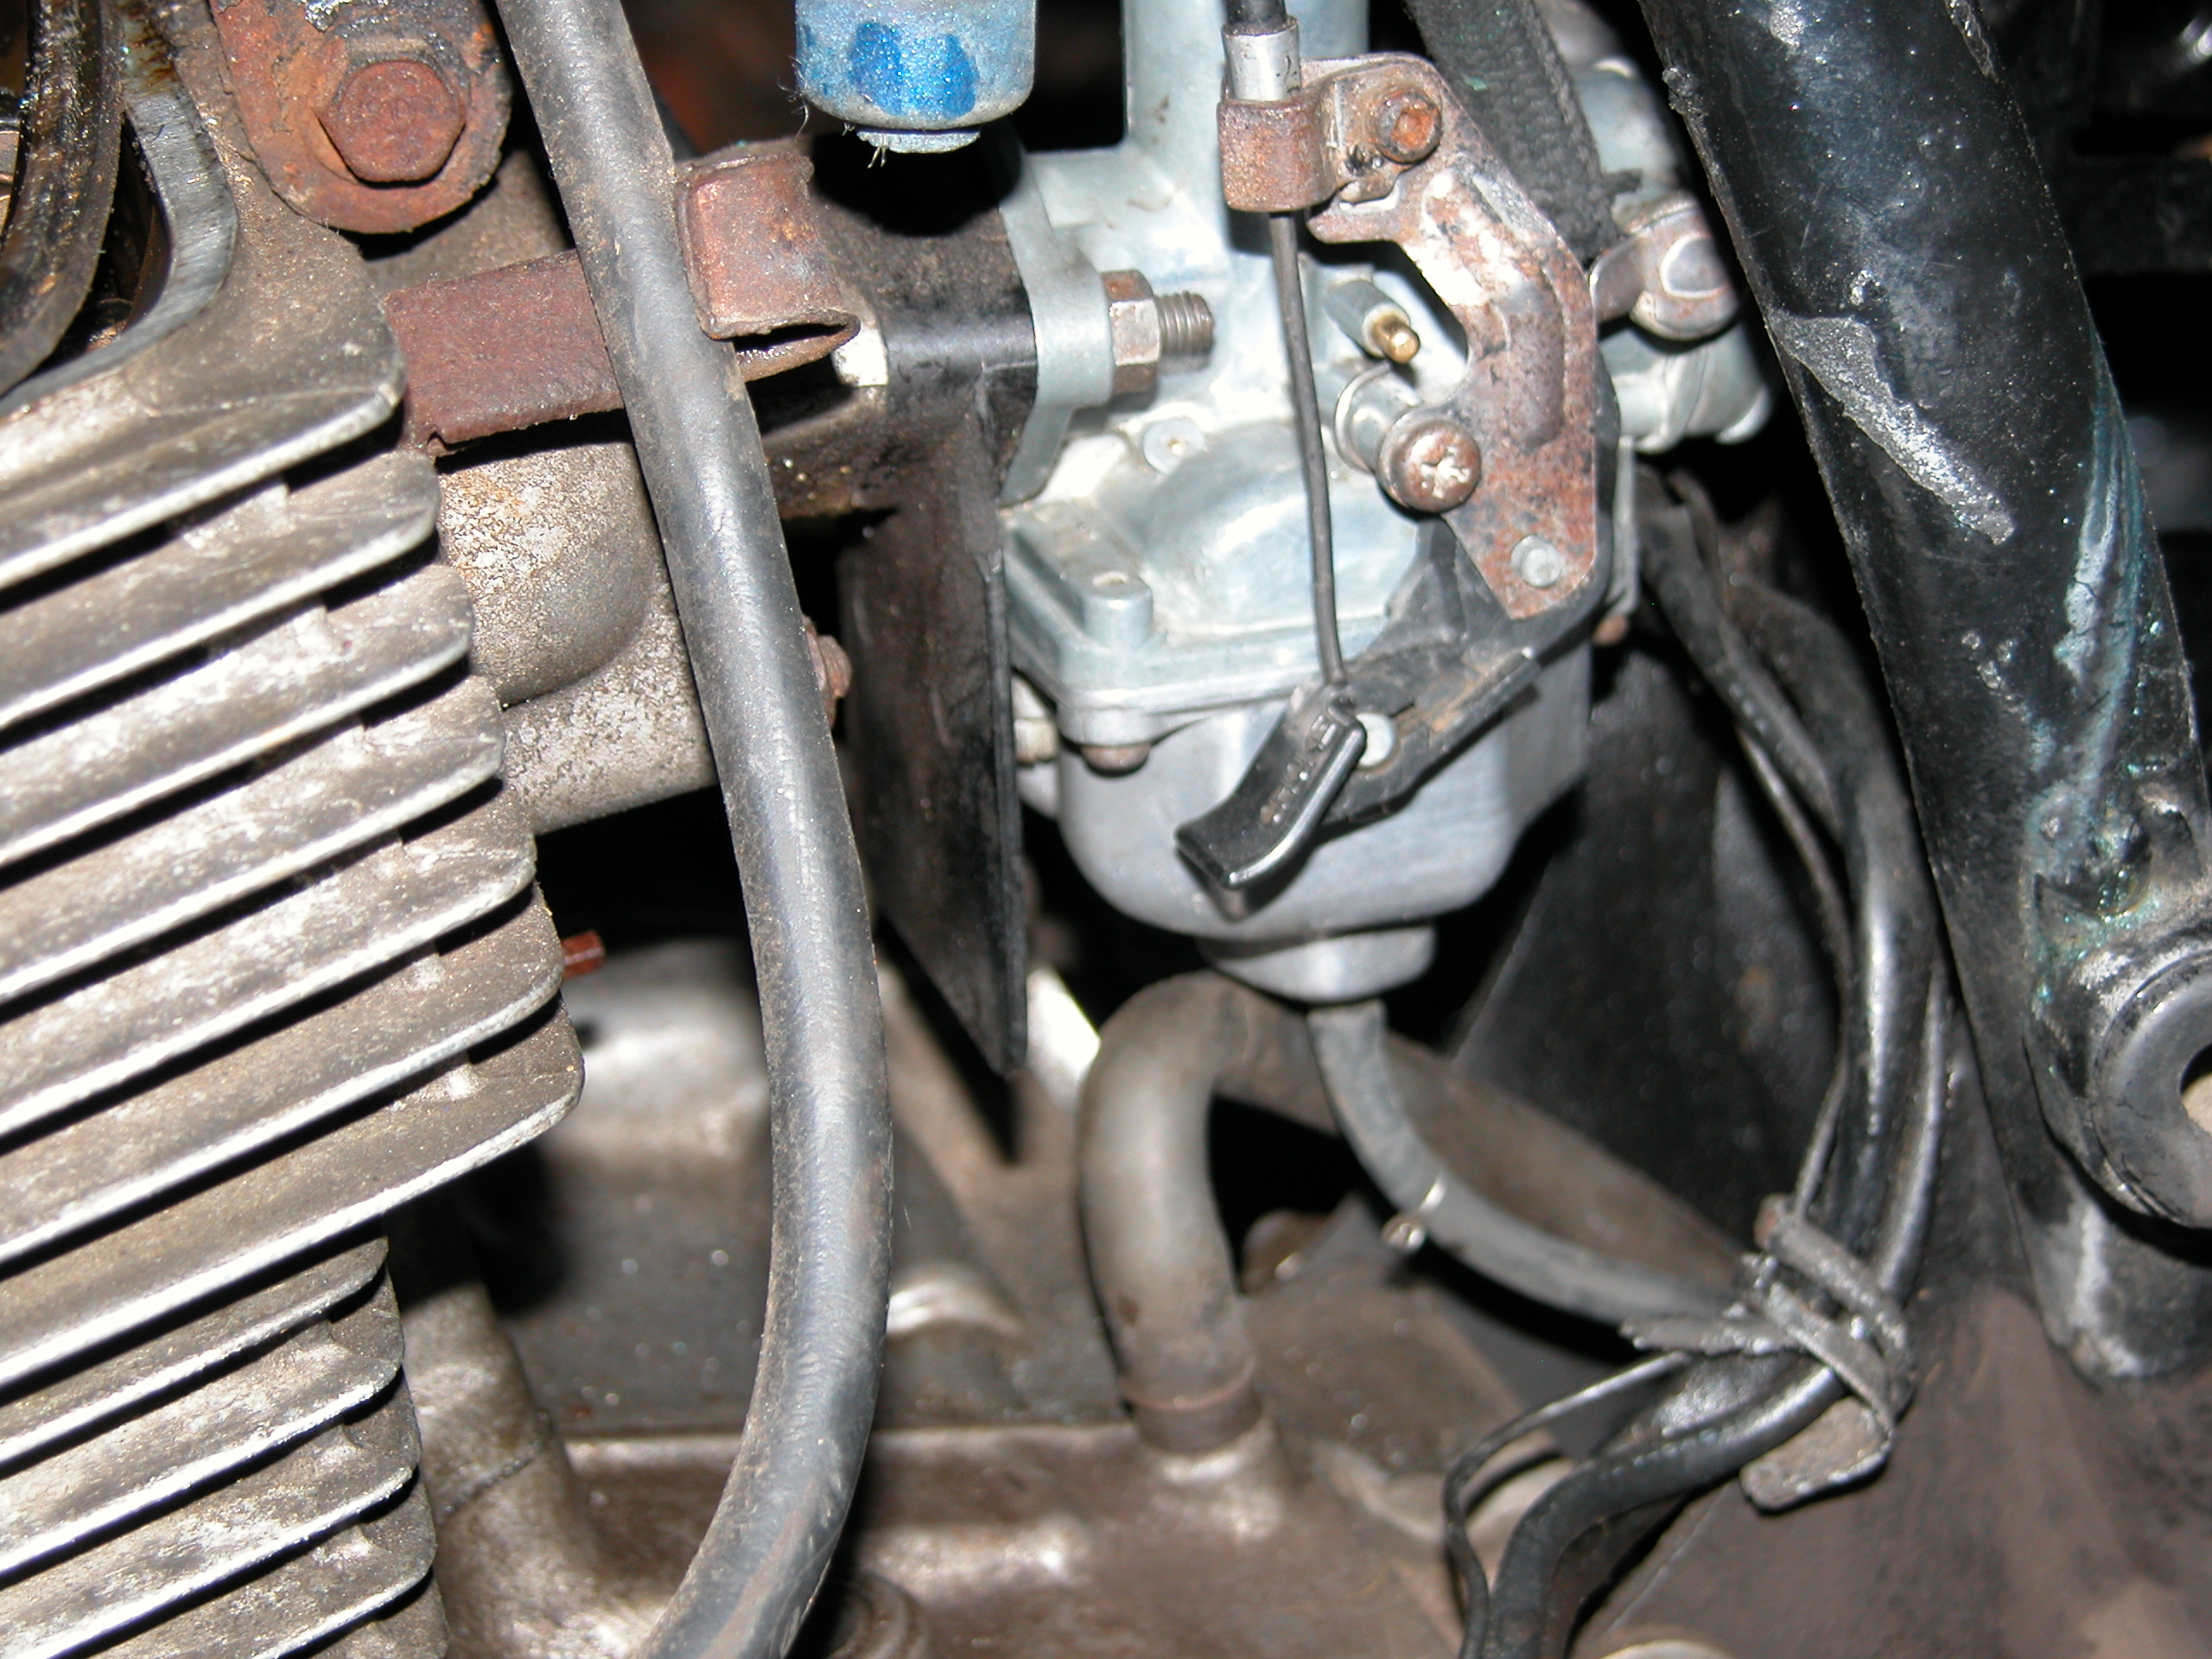
I removed the airbox, and all the pipes (fuel tank was already drained of petrol). Soaked the nuts in WD40 and then removed the carb. The clip which holds the airbox pipe was completely rusted solid and needed removing with a hacksaw. Guess I will need a new one of those. I stripped it completely and cleaned. There was 30 years of encrusted dirt to remove and it took a while but eventually I got somewhere. The jets and stuff all appeared to be in good shape once cleaned. I reassembled and popped it back on the bike. This is how it looks now. As you can see the choke cable arm is still quite rusty and the screw which holds the choke cable clamp is completely rounded and can only be undone with pliers, but I will save these bits for another day.
Next step is indicators stalks, rear light, rear mudguard, seat, tank and grab rail.